
Why Cuffed Ankle Bands Reach a Muscle Squats Keep Missing
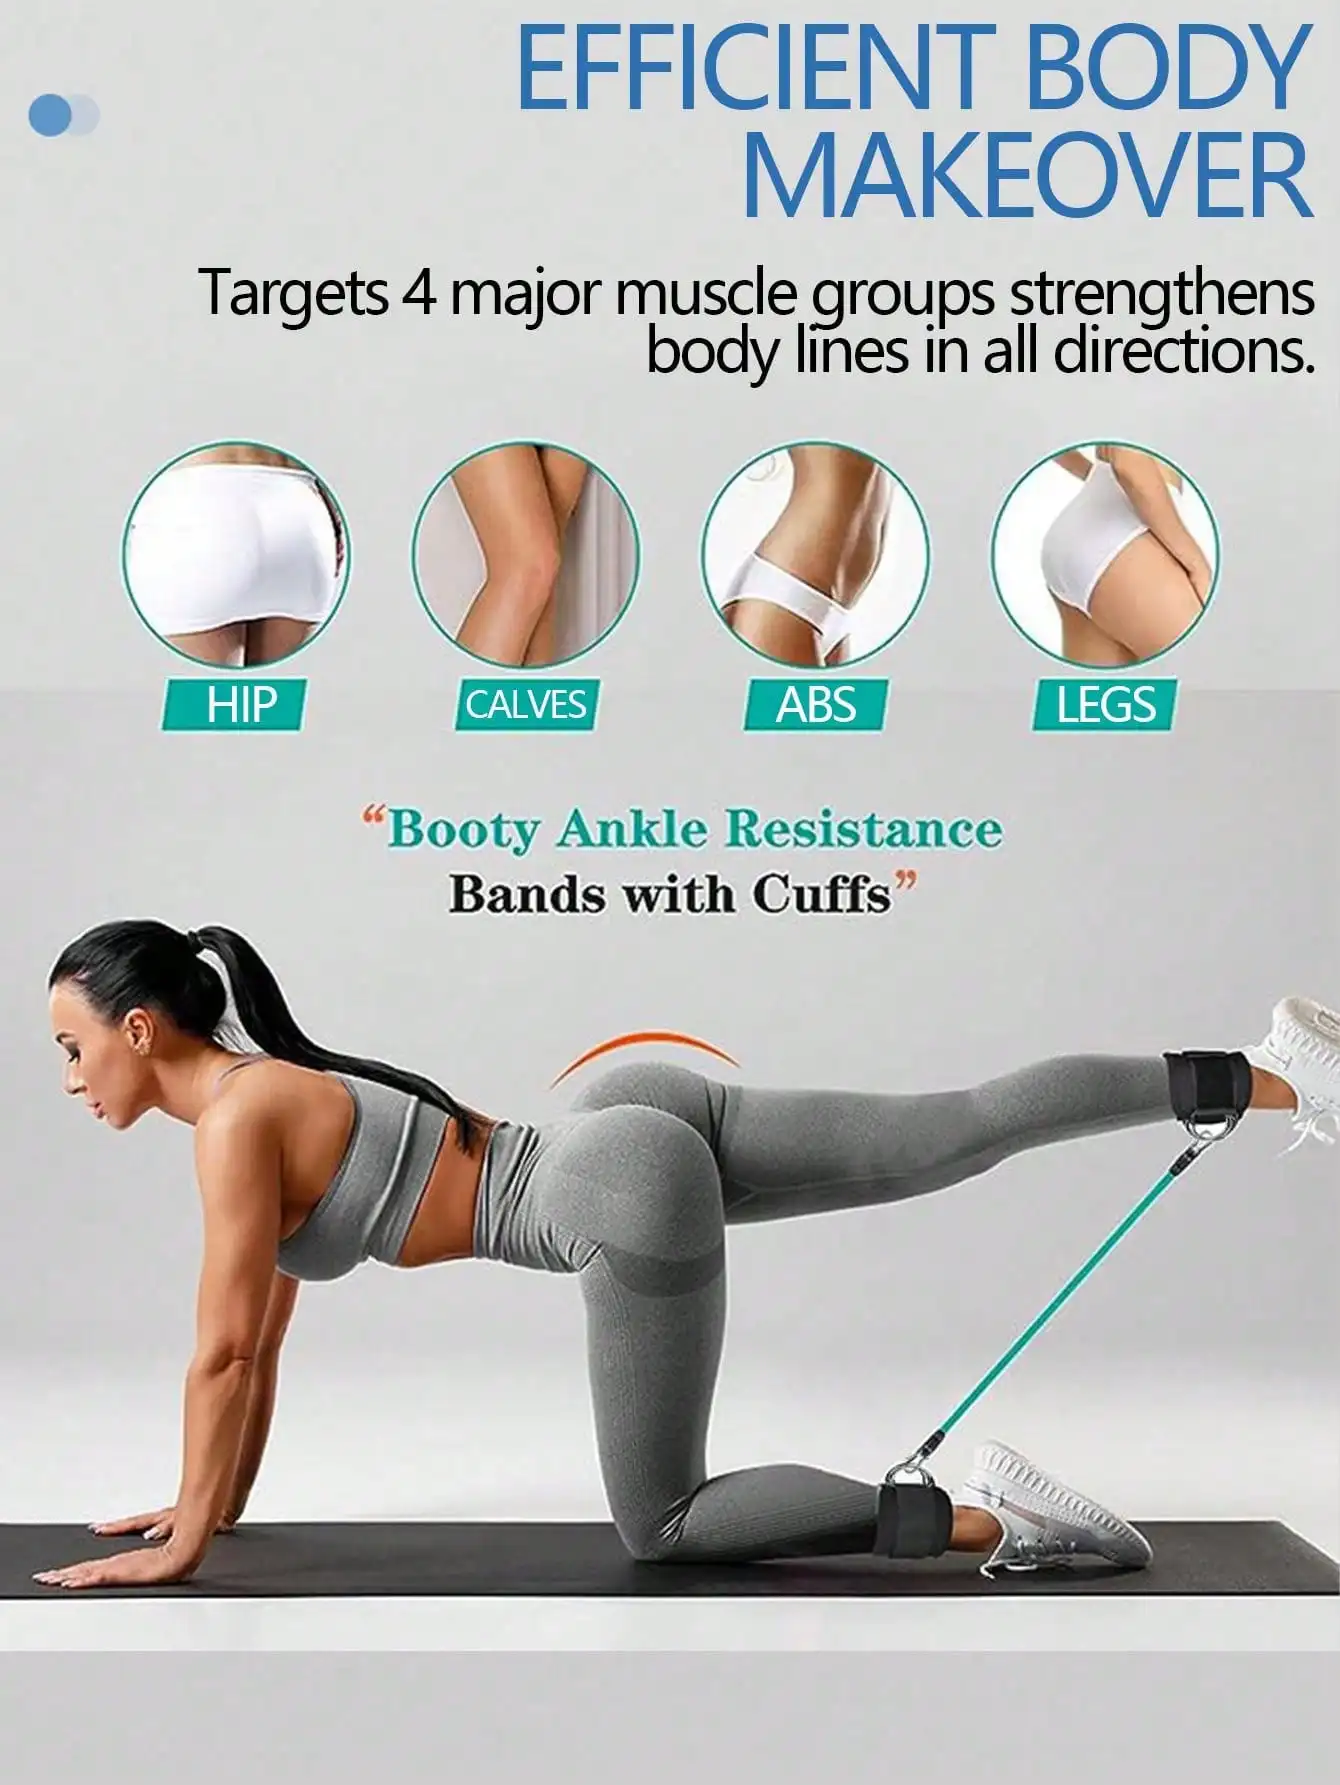
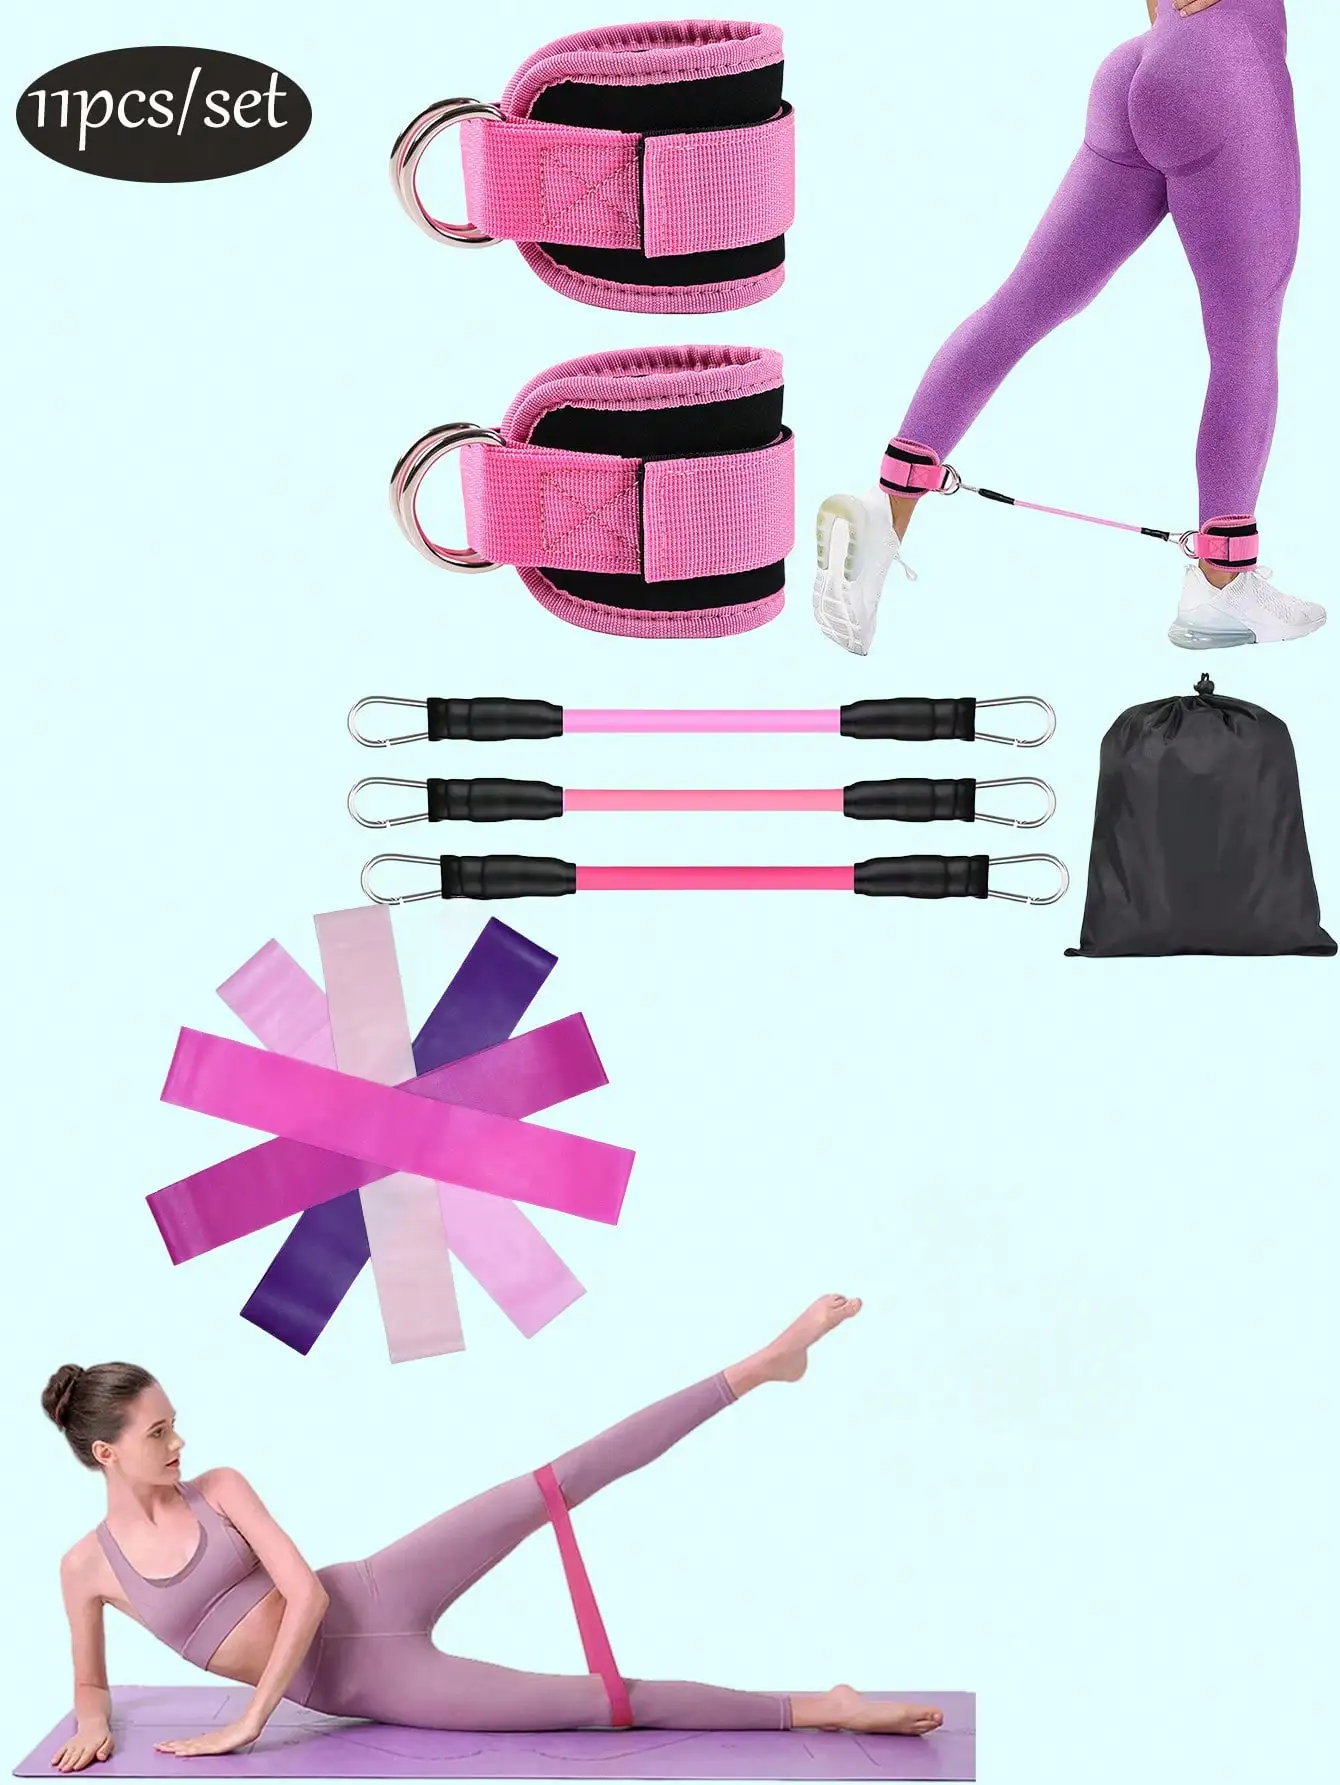
The gluteus medius and minimus are hip abductors and pelvic stabilisers: their job is to stop the pelvis dropping when you stand on one leg. Bilateral exercises like squats and leg press barely challenge them, because both feet are planted and the pelvis is not being asked to resist anything. That is why hip abductor weakness survives years of leg training, and why it shows up later as knee valgus, IT band pain and hip instability. A cuffed ankle band applies resistance at the far end of the lever — the ankle — through the exact planes those muscles work in: abduction to the side, extension behind, flexion in front. Long lever, direct line of pull, no barbell required.
Key Benefits
- Targets hip abduction directly — standing side kicks with a cuffed band load glute medius in the way it actually functions, which squats and lunges do not.
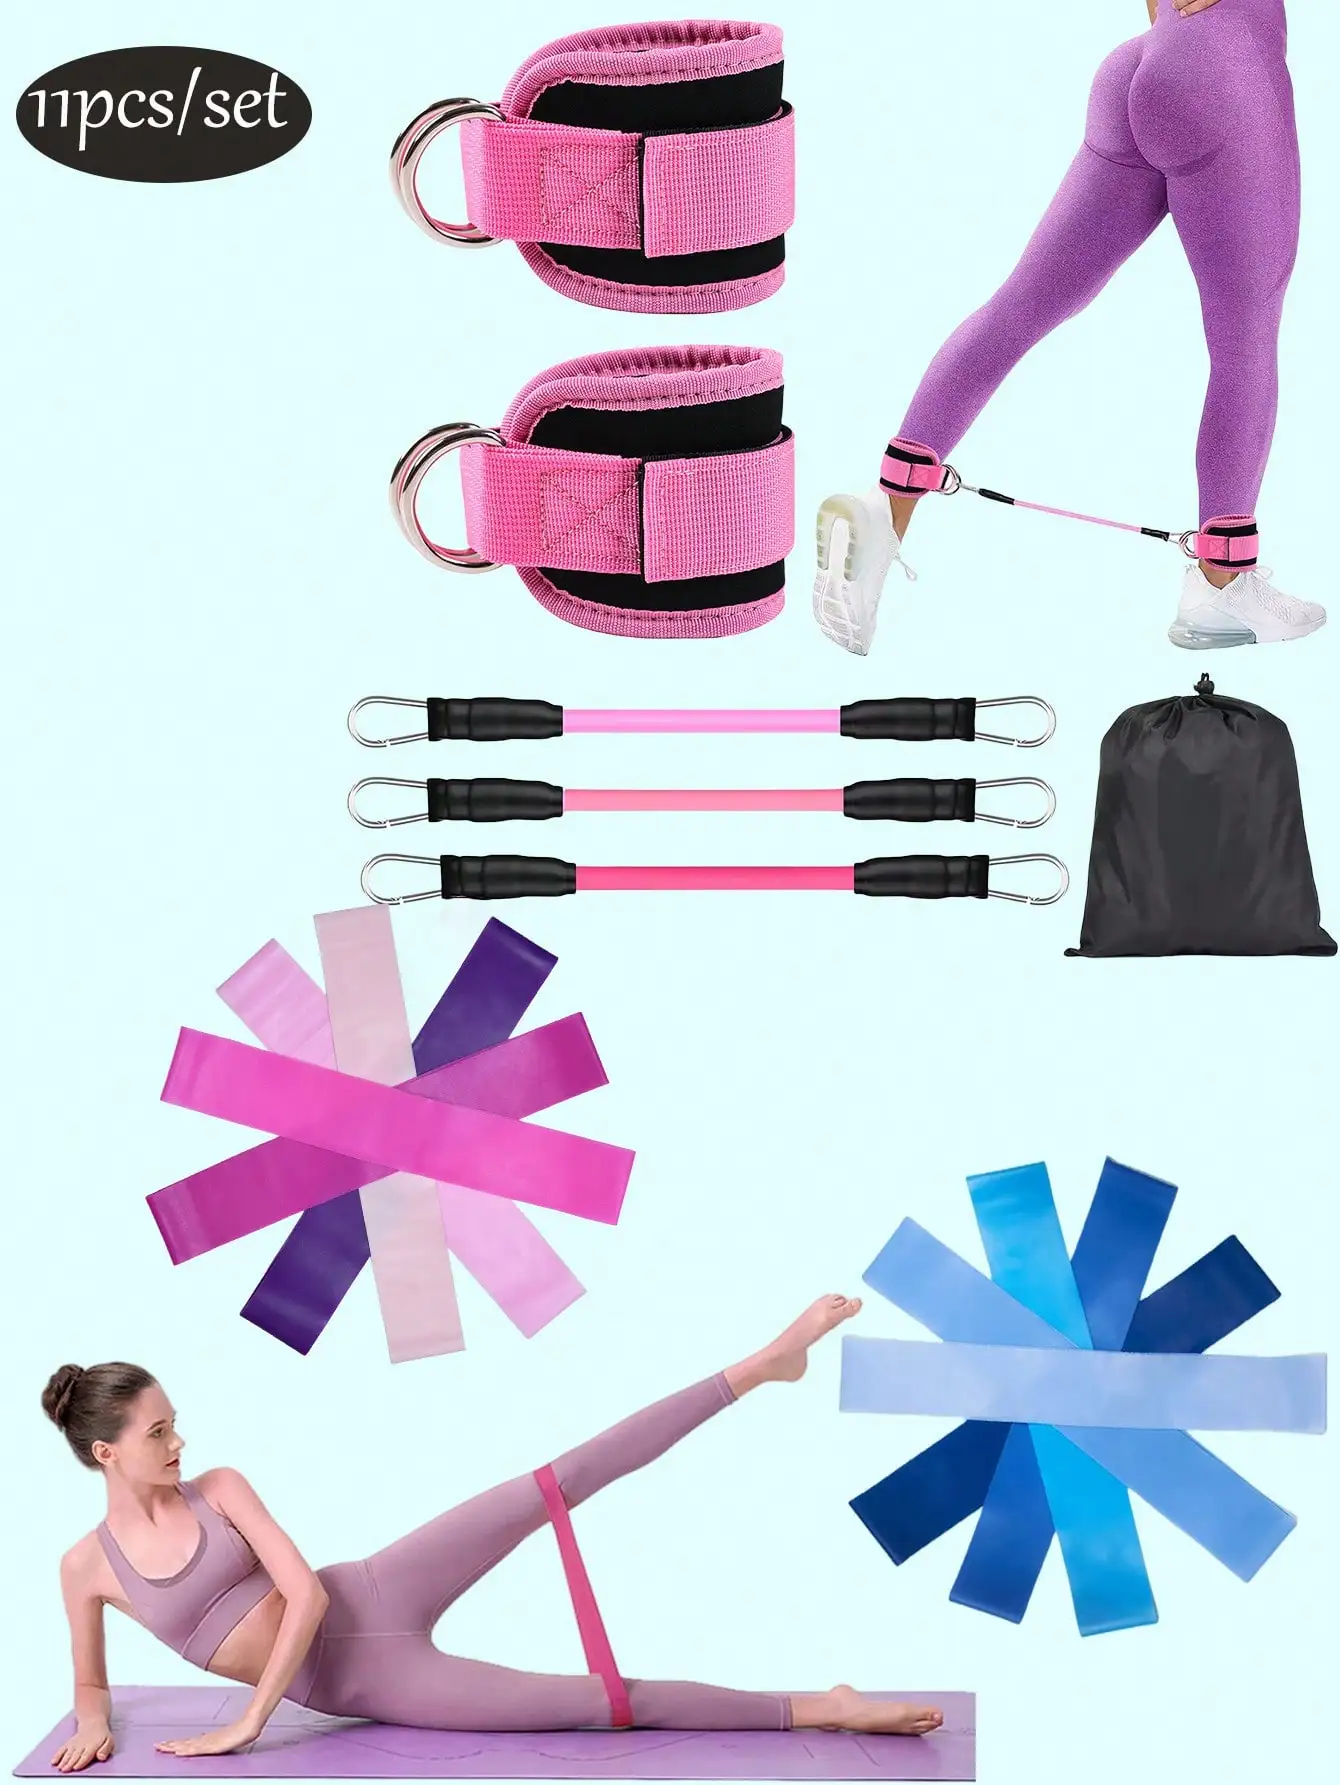
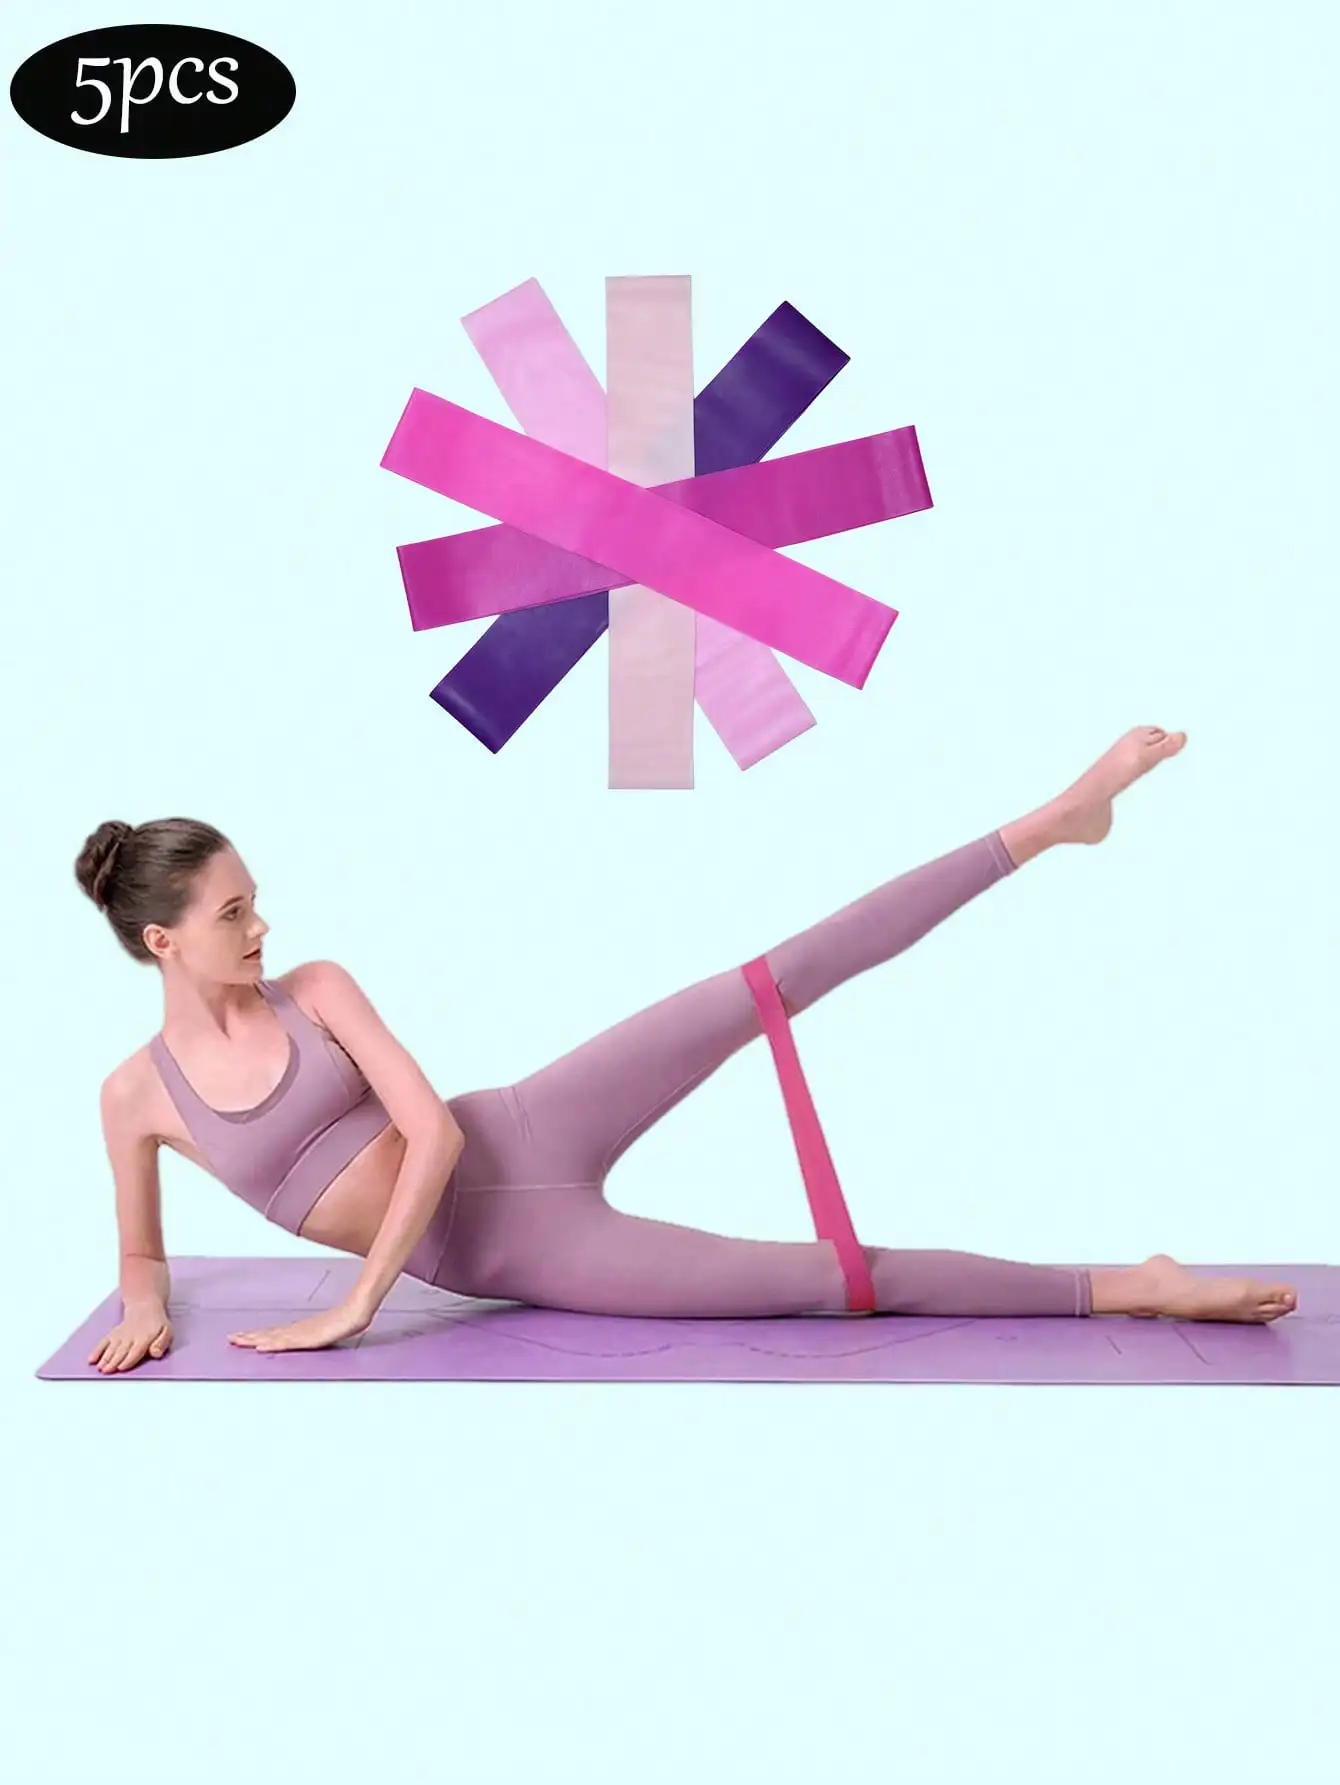
- Five gradient resistance levels — allows genuine progressive overload rather than just doing more reps of something too easy.
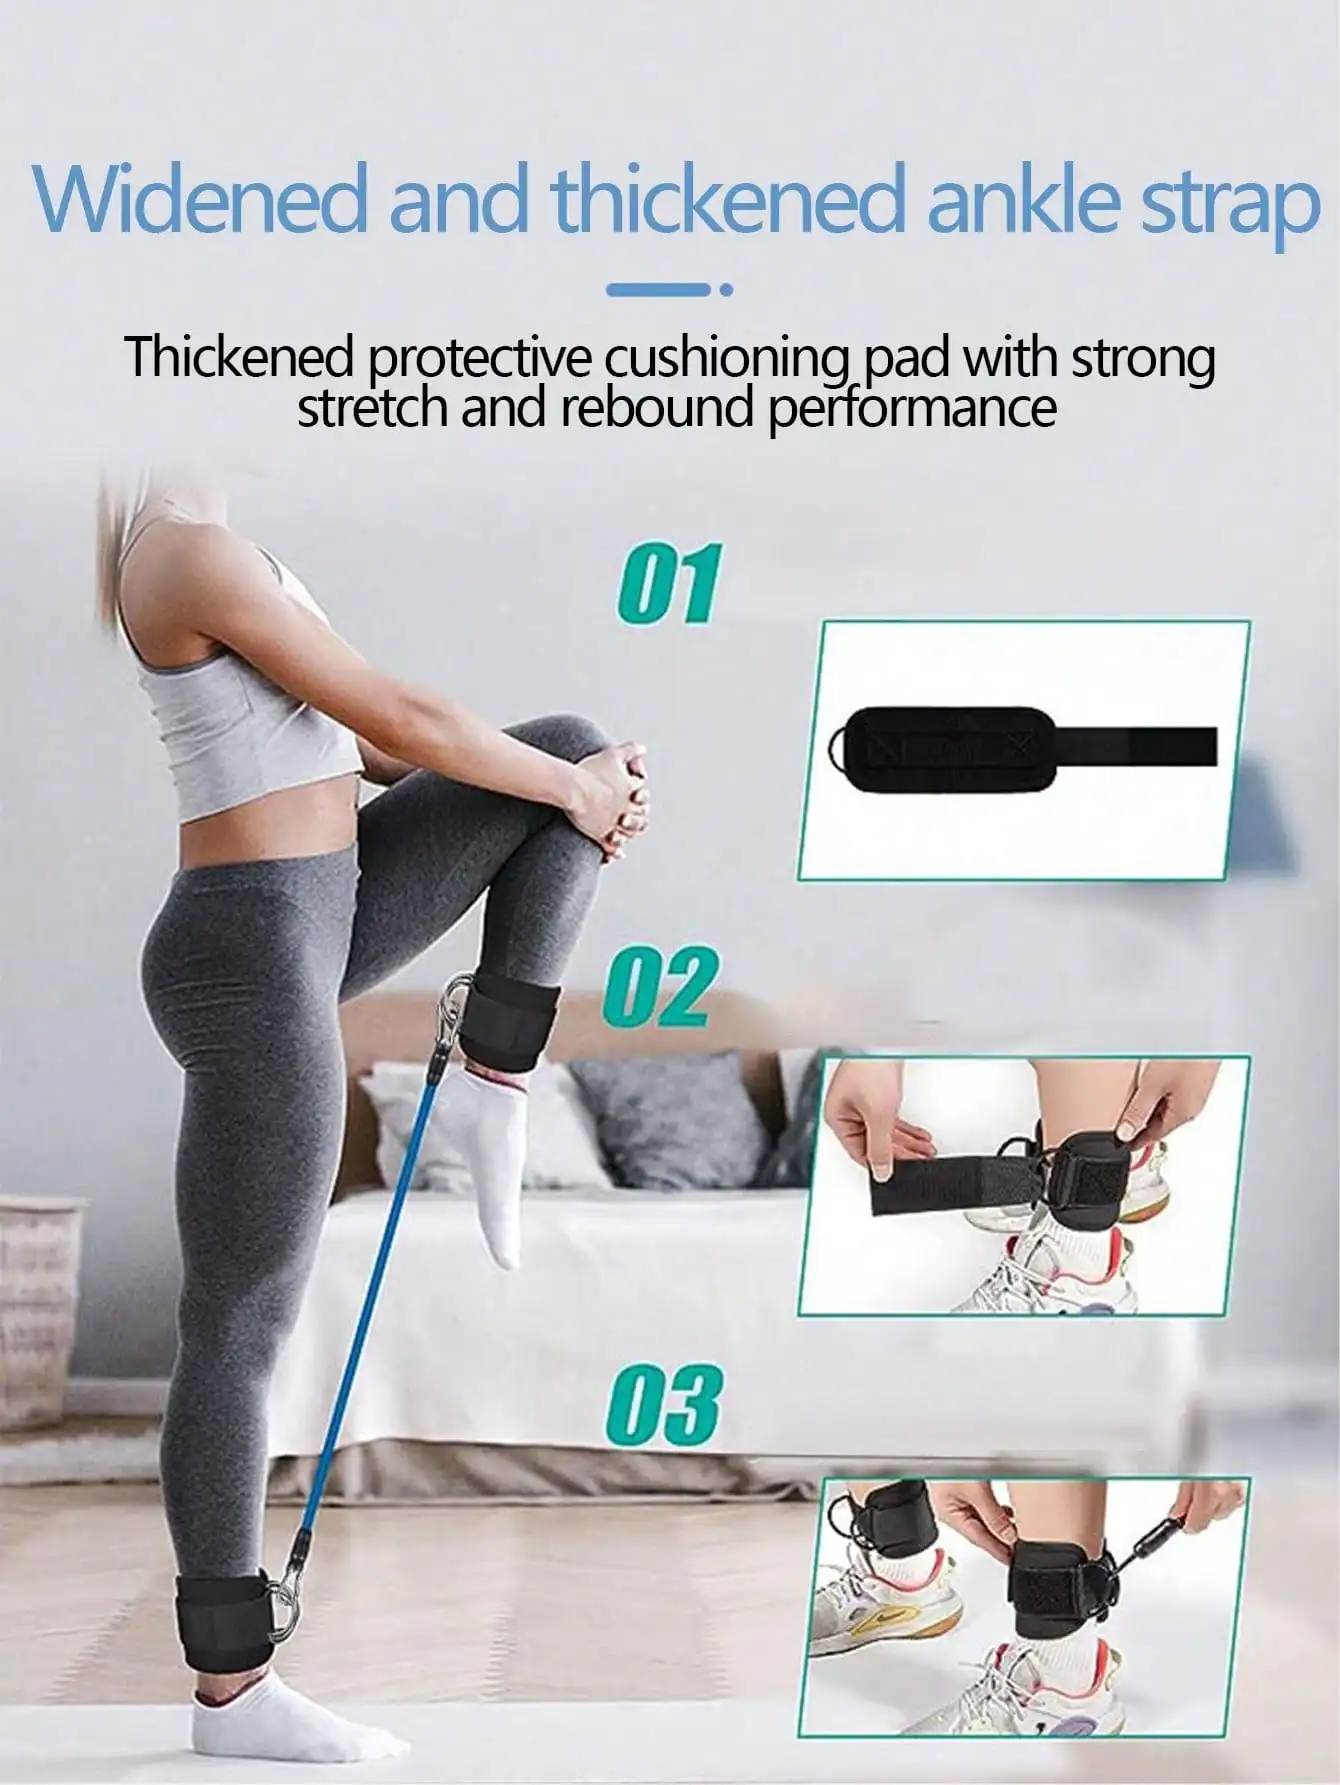
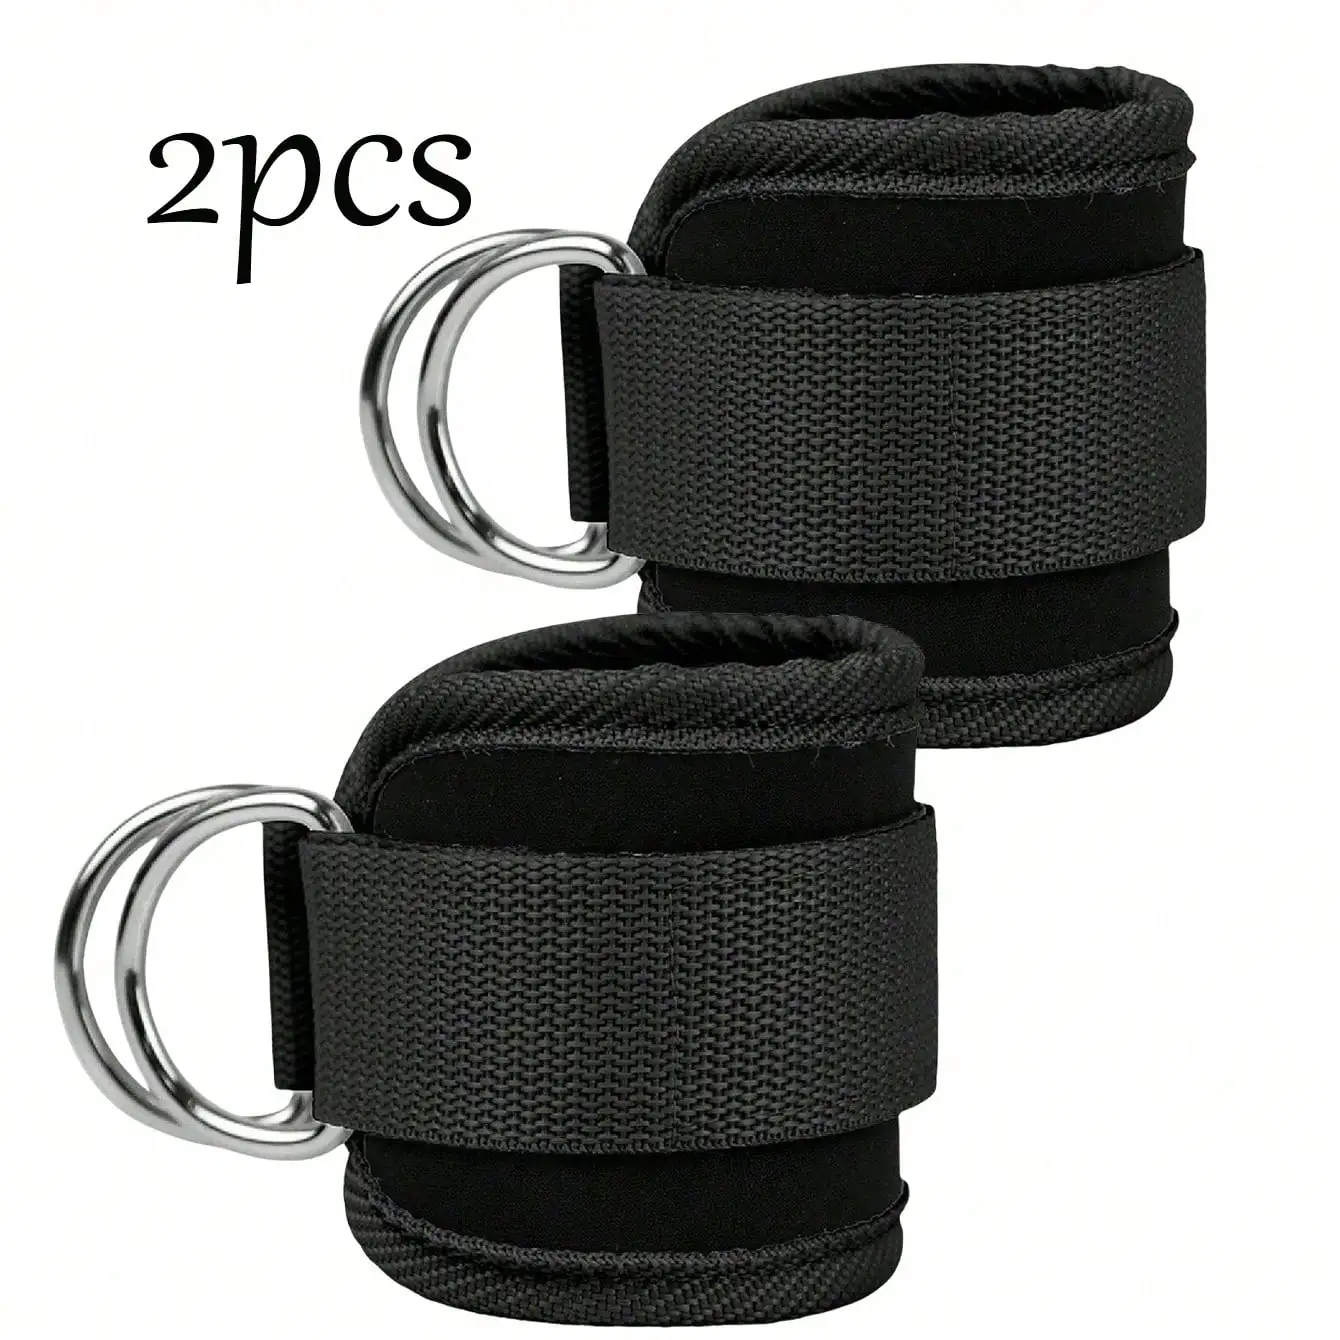
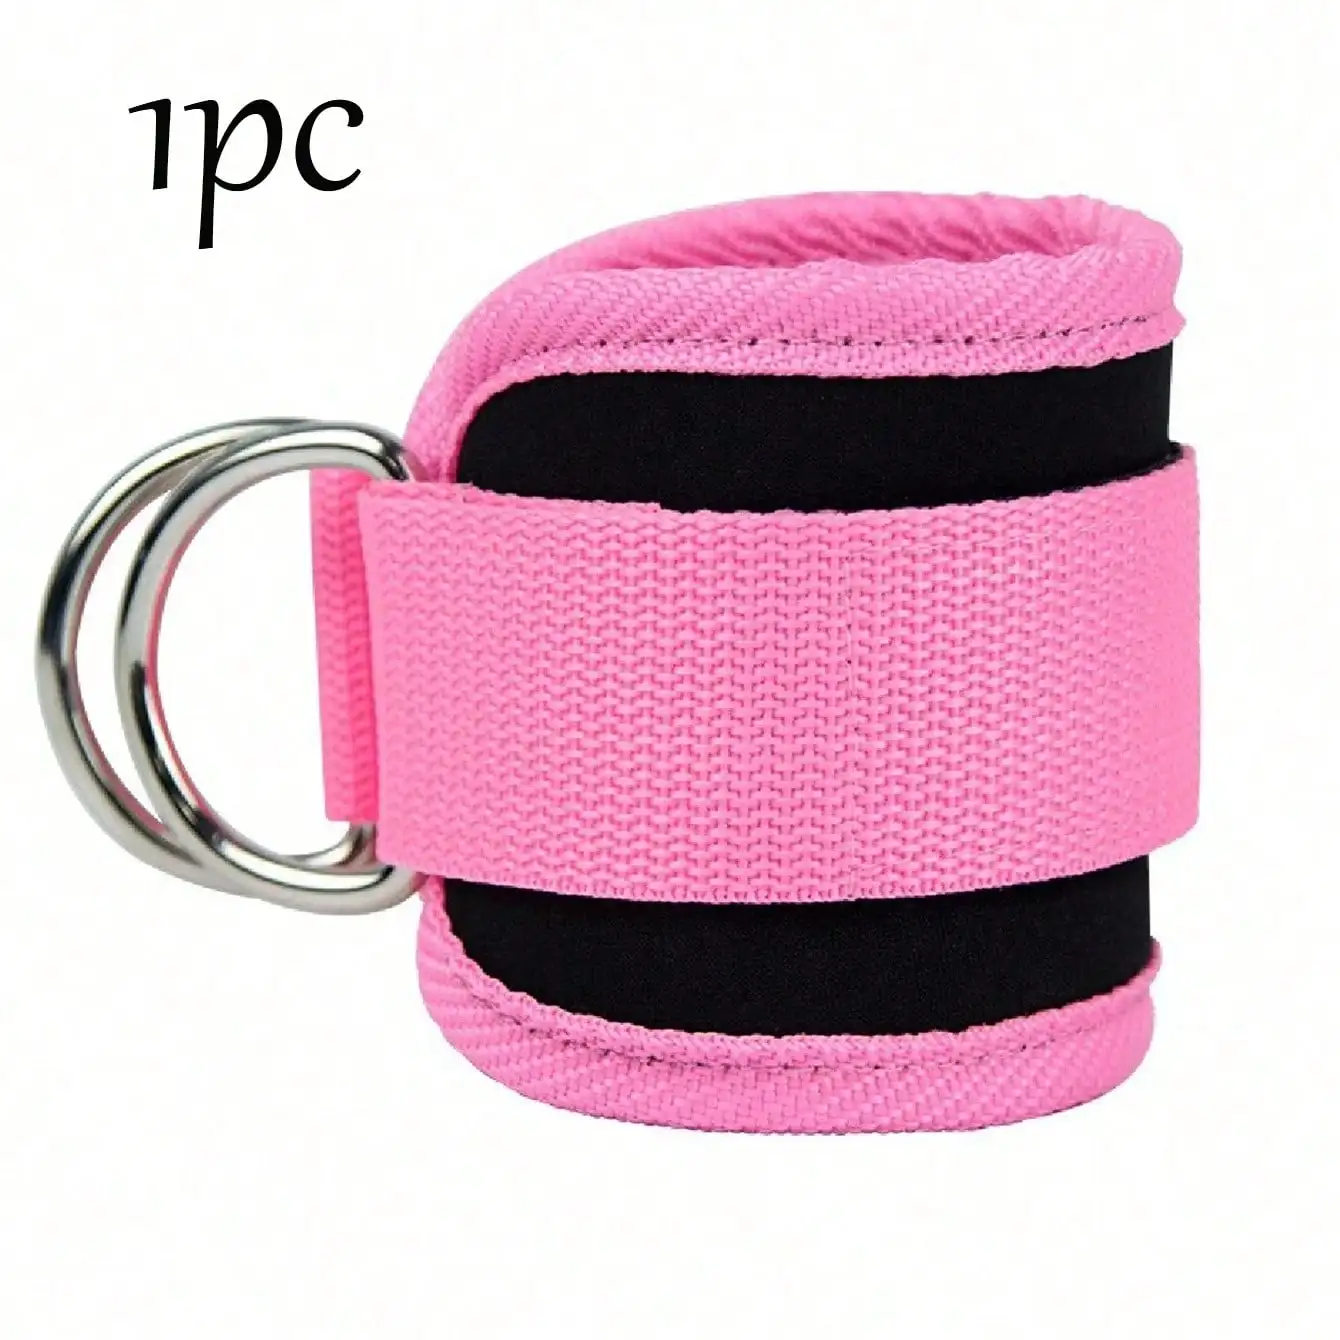
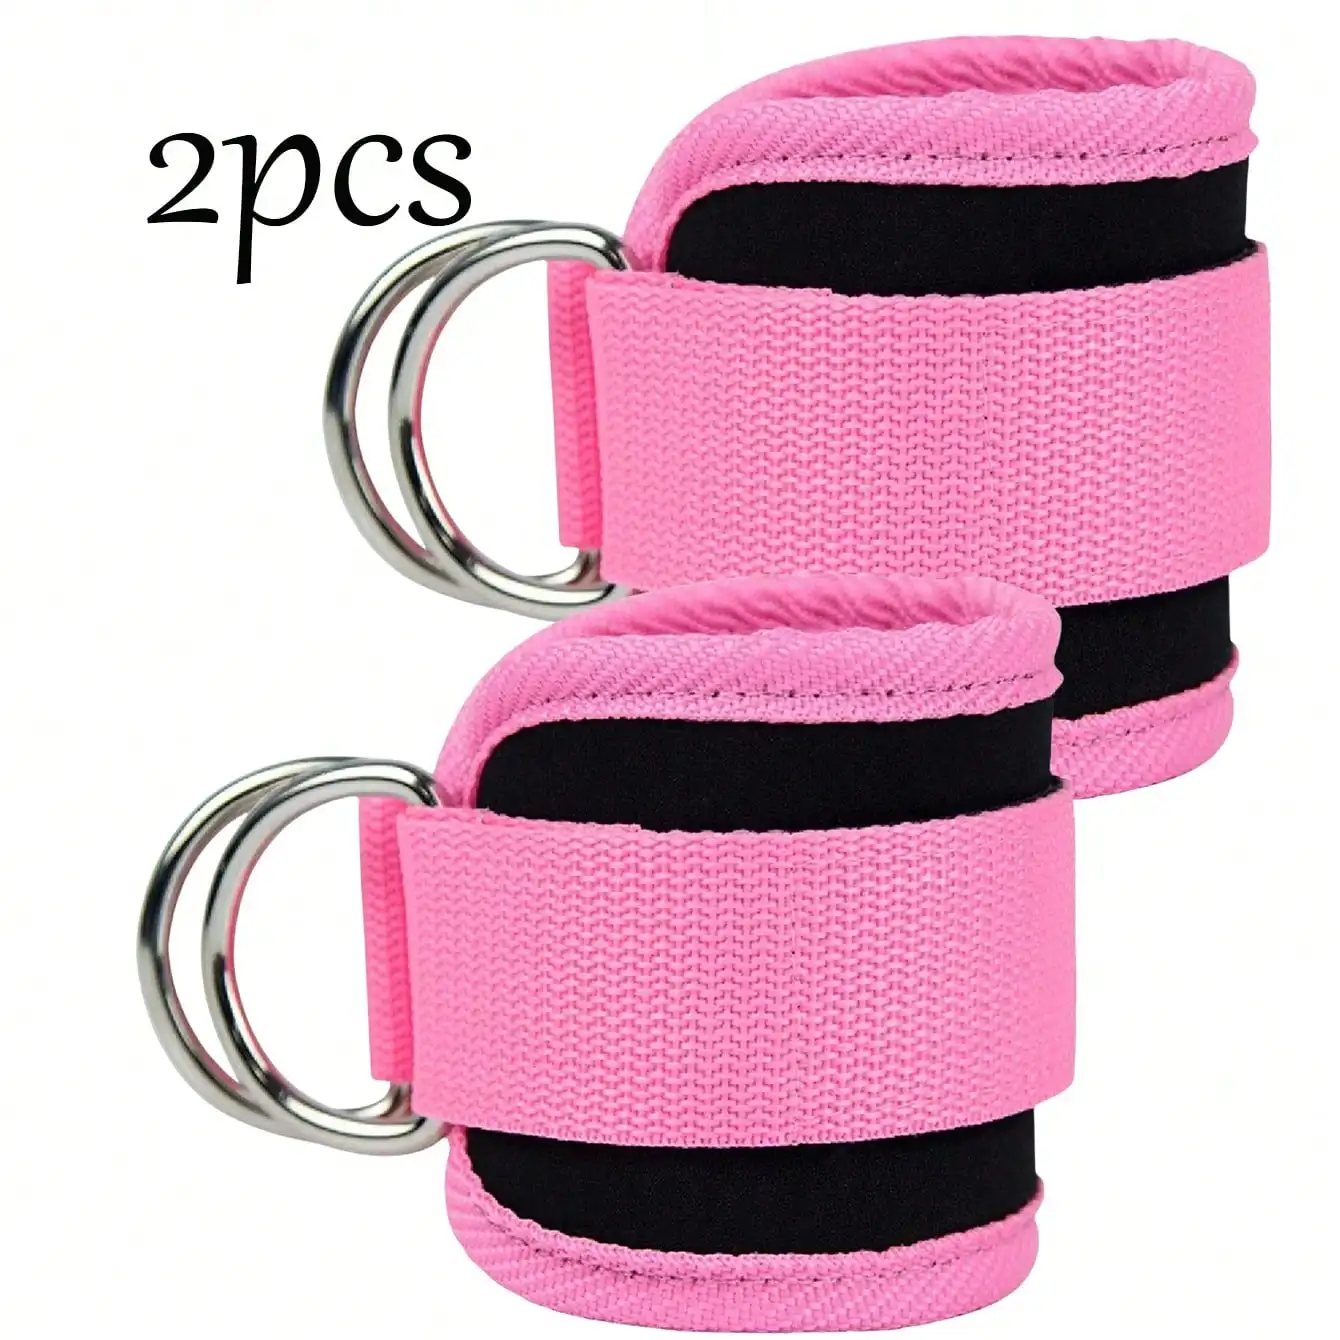
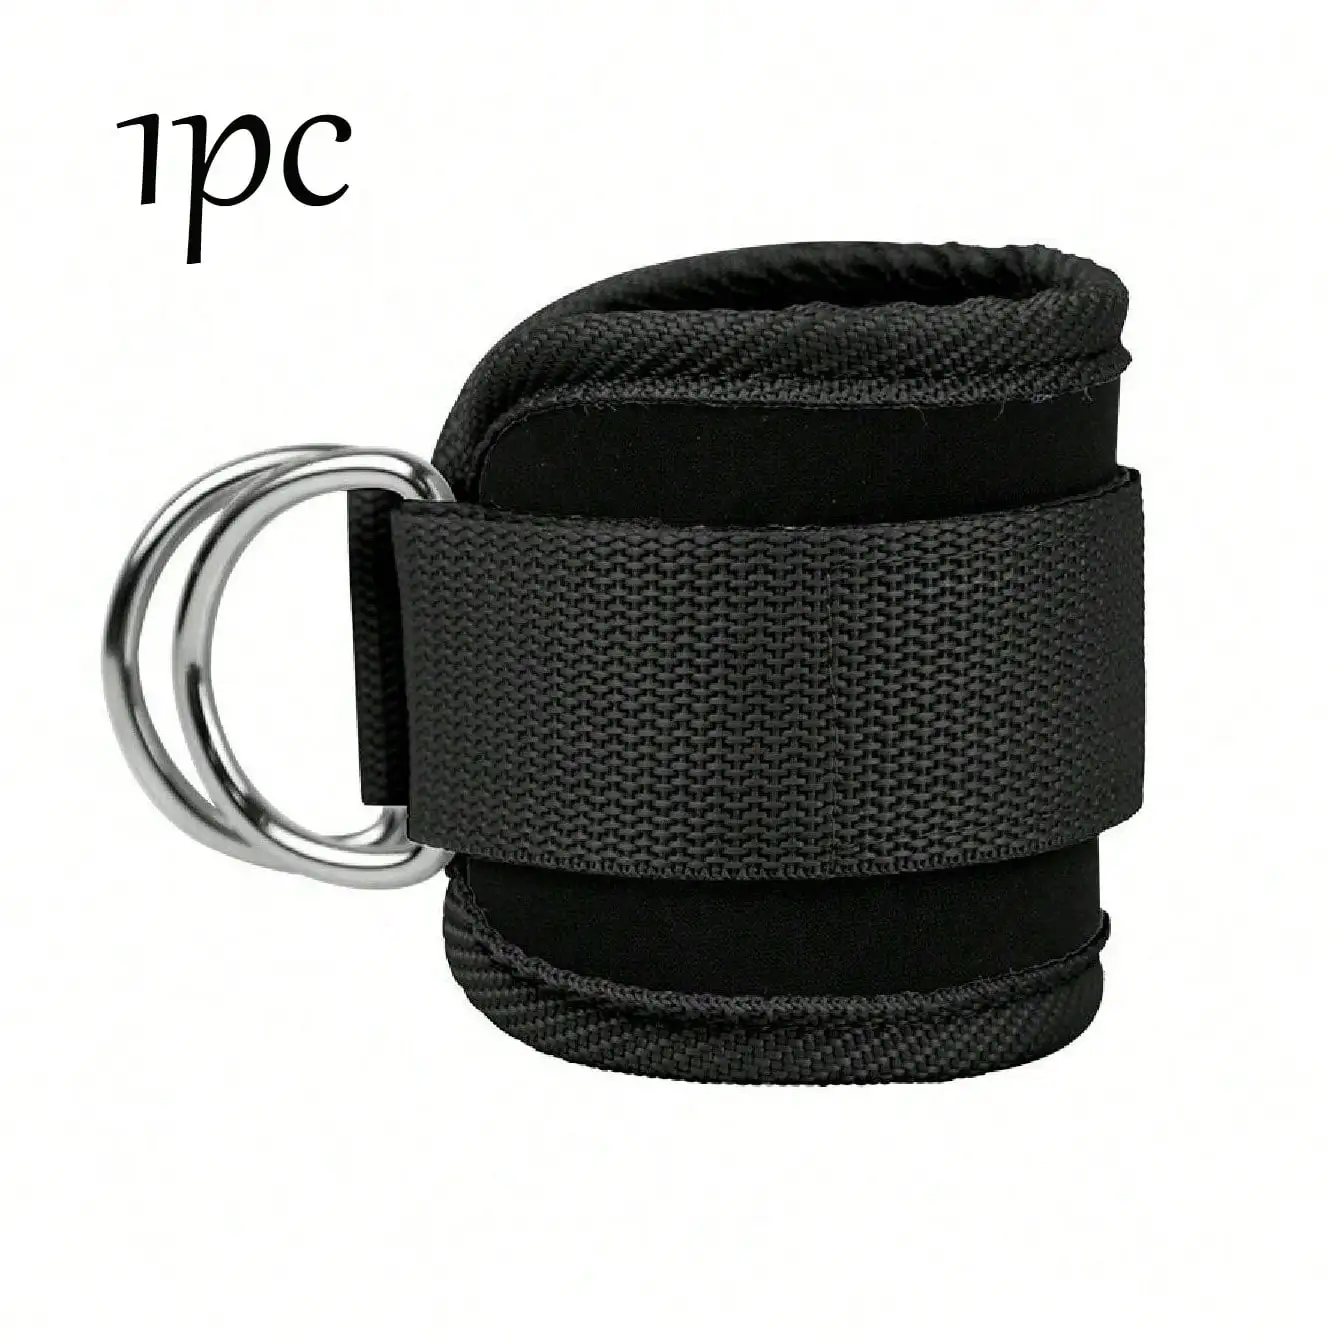
- Padded ankle cuffs — spread the load over the ankle instead of a thin band digging into the joint, which is what makes higher-resistance work tolerable.
- Trains all four hip directions — abduction, adduction, extension and flexion, from a standing position, without a cable machine.
- Useful for rehab and prehab — hip abductor strengthening is a mainstay of programmes for patellofemoral knee pain and runner’s hip complaints.
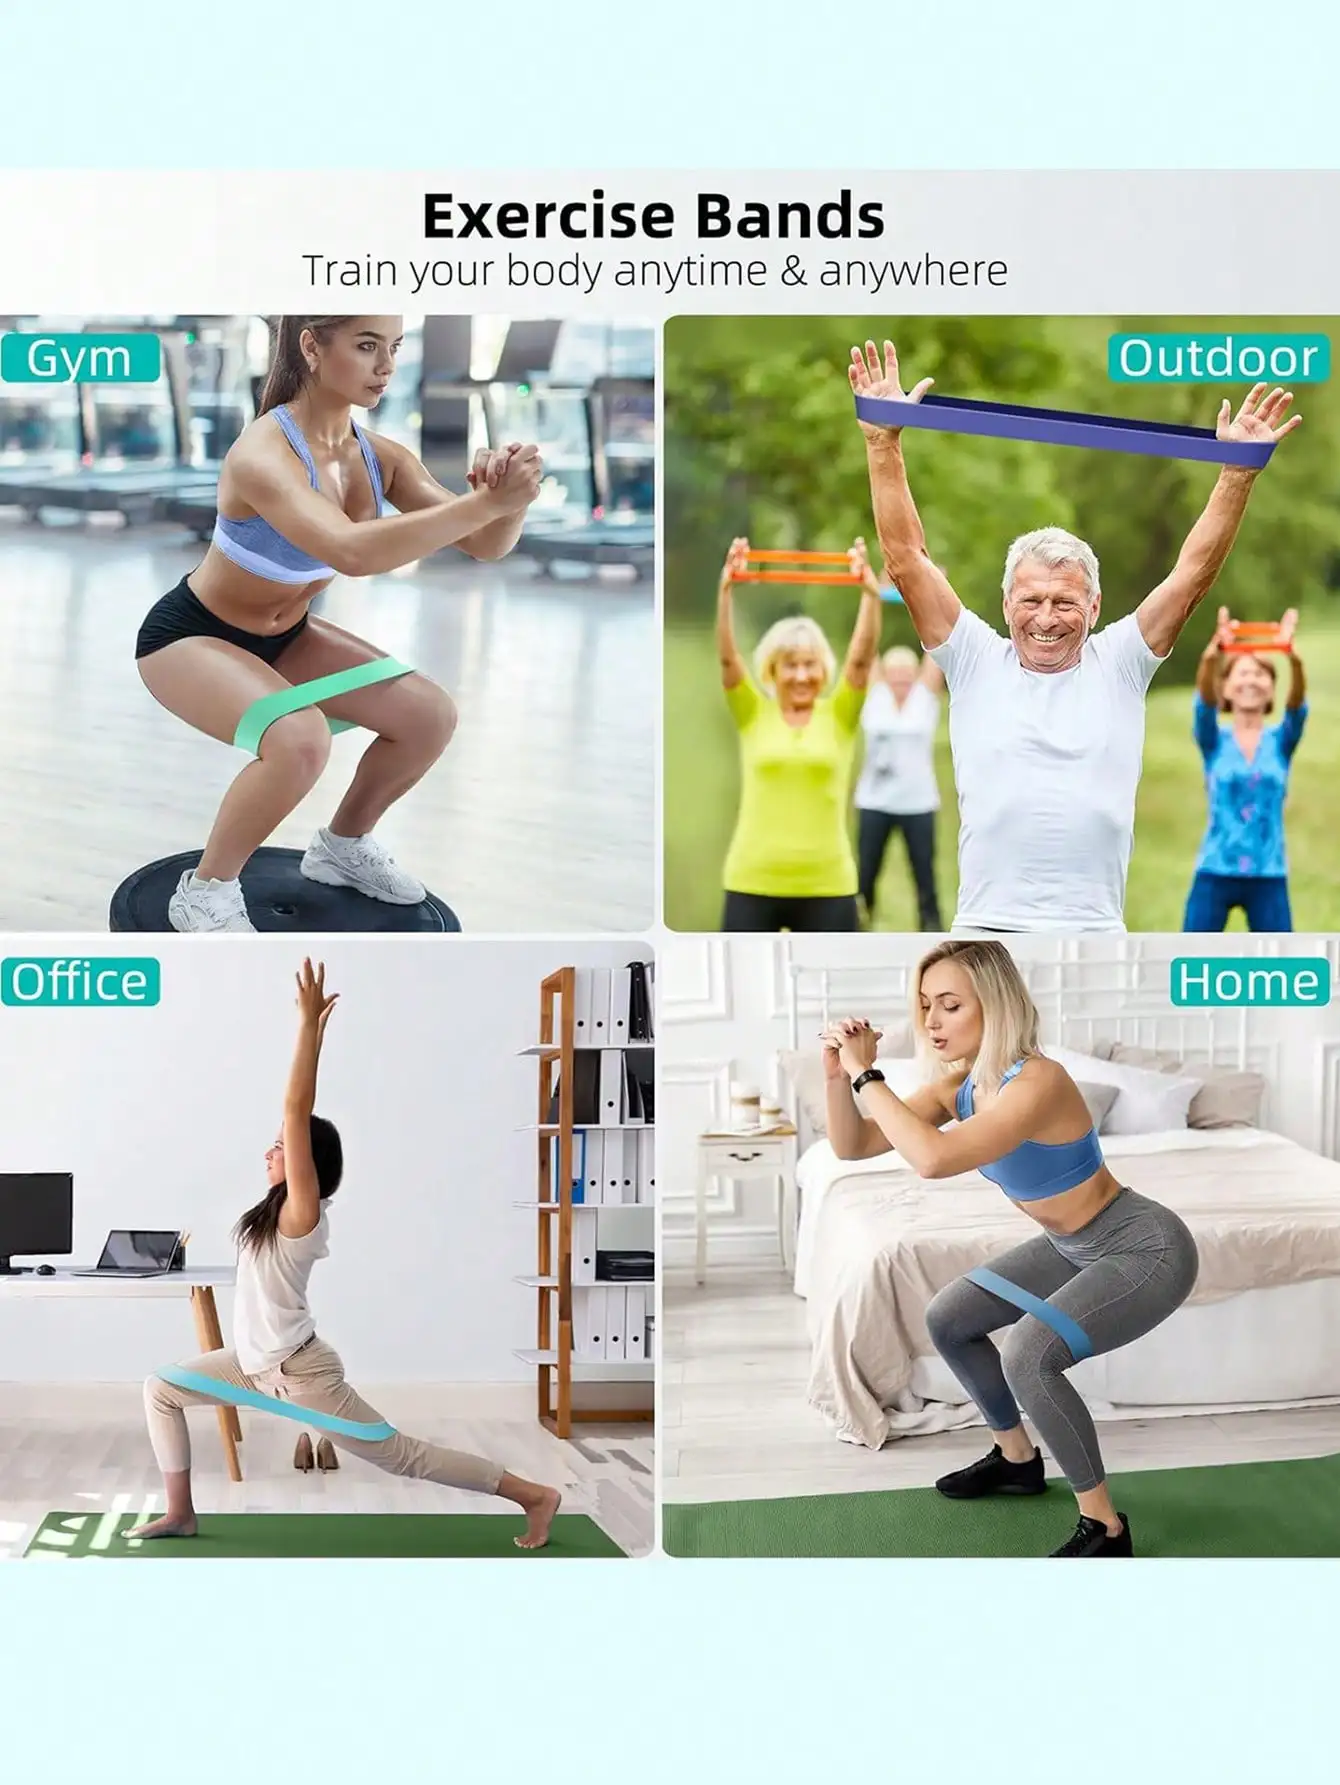
- Packs into a bag — travels, and works against a door anchor or a heavy table leg anywhere.
How to Use
Fasten the cuffs snugly above the ankle bone and attach the band to a low, genuinely fixed anchor — a loaded rack or a door anchor, never a chair or anything that can be dragged over. For standing abduction, stand tall with the working leg on the outside, keep the knee straight and the torso still, and sweep the leg out about 30 to 45 degrees. That is the full useful range; going further just tips the pelvis and hands the work to your obliques. Move slowly and control the return — that eccentric phase is most of the benefit. Start at 12 to 15 reps a side and expect the burn to arrive high on the side of the hip, not in the lower back. SAFETY: inspect every band for nicks, tears or thin spots before each use — latex fails suddenly, not gradually. Never stretch a band toward your face, and never anchor it above head height where a snap could reach your eyes. Keep clear of anything that could abrade the band.
Specifications
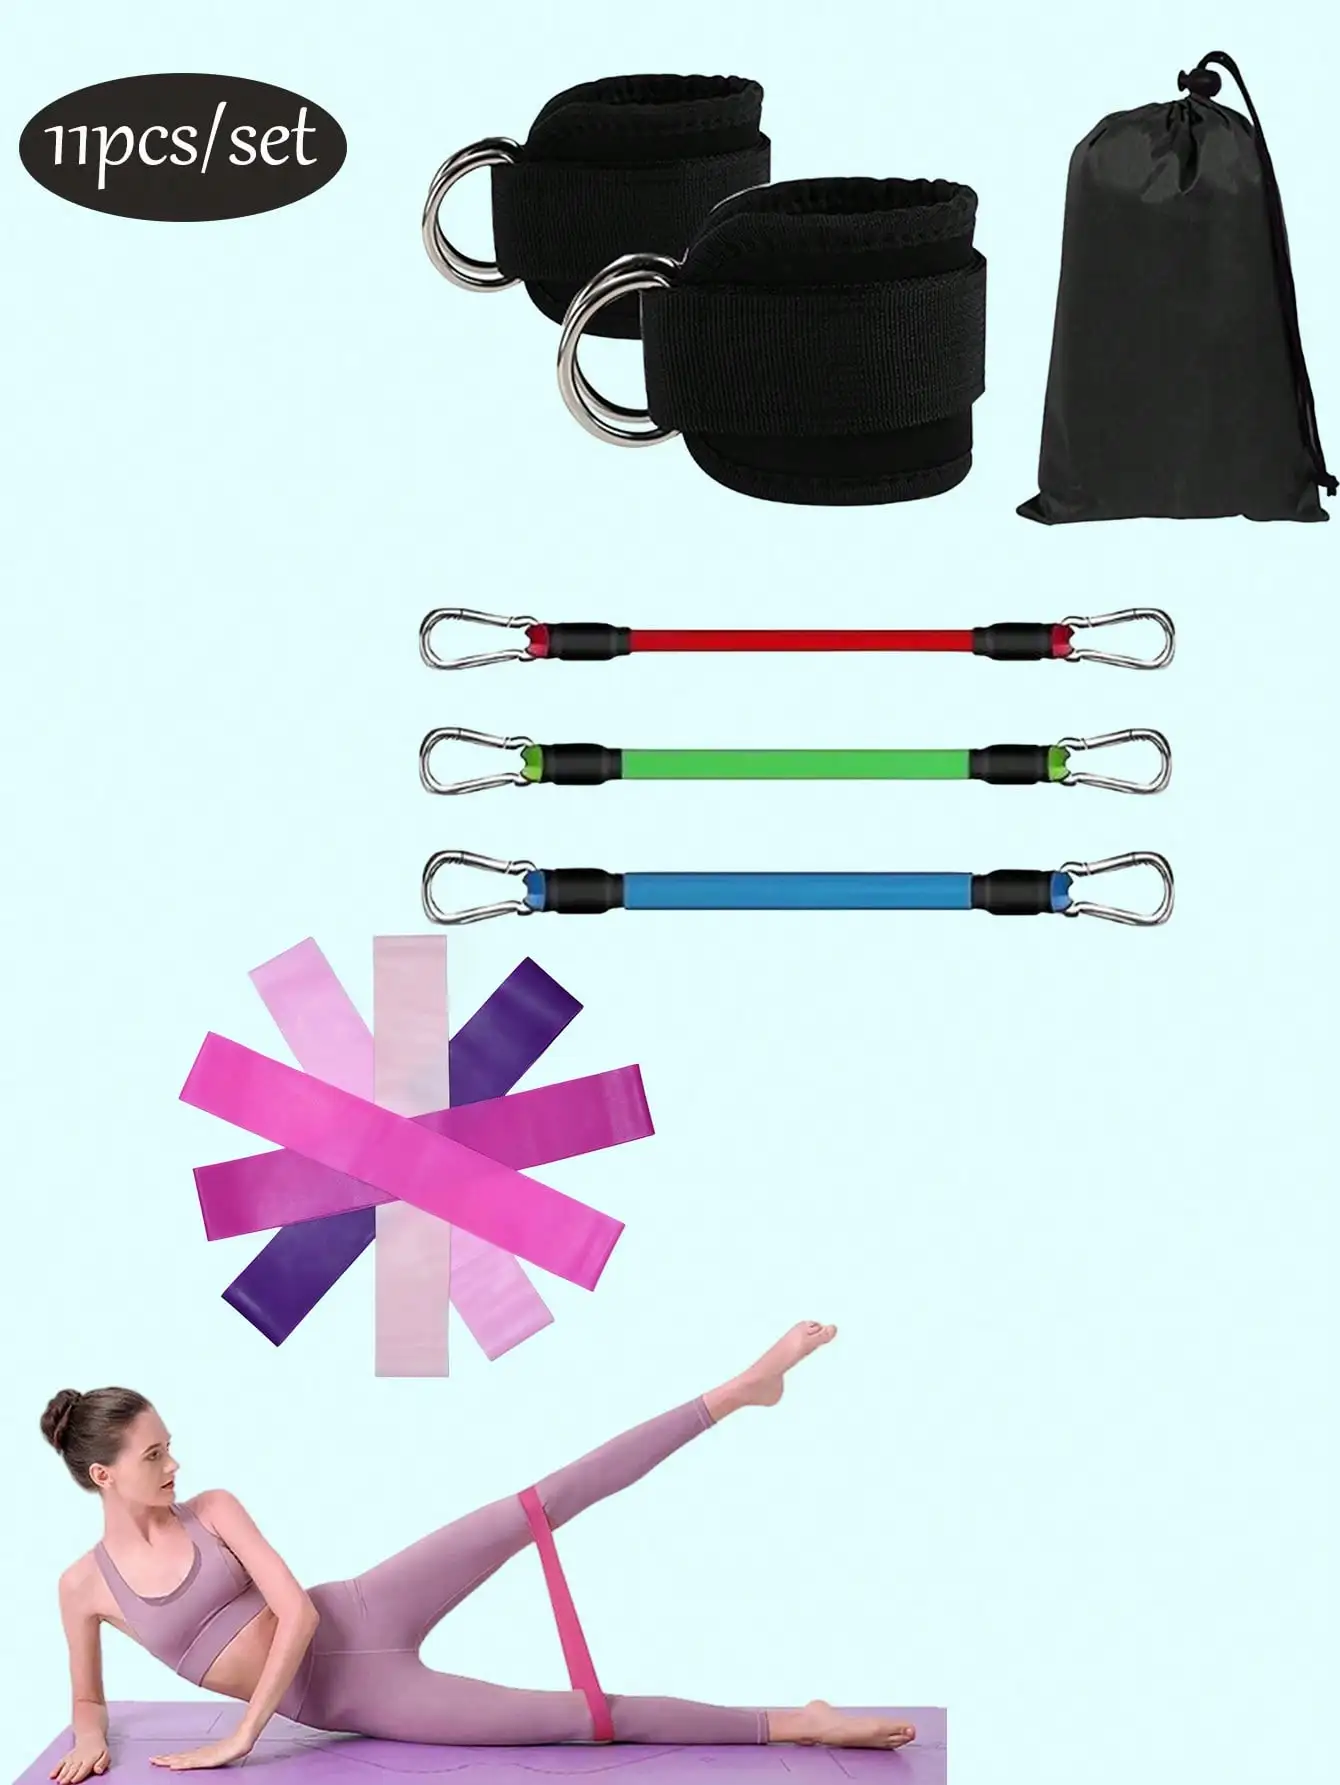
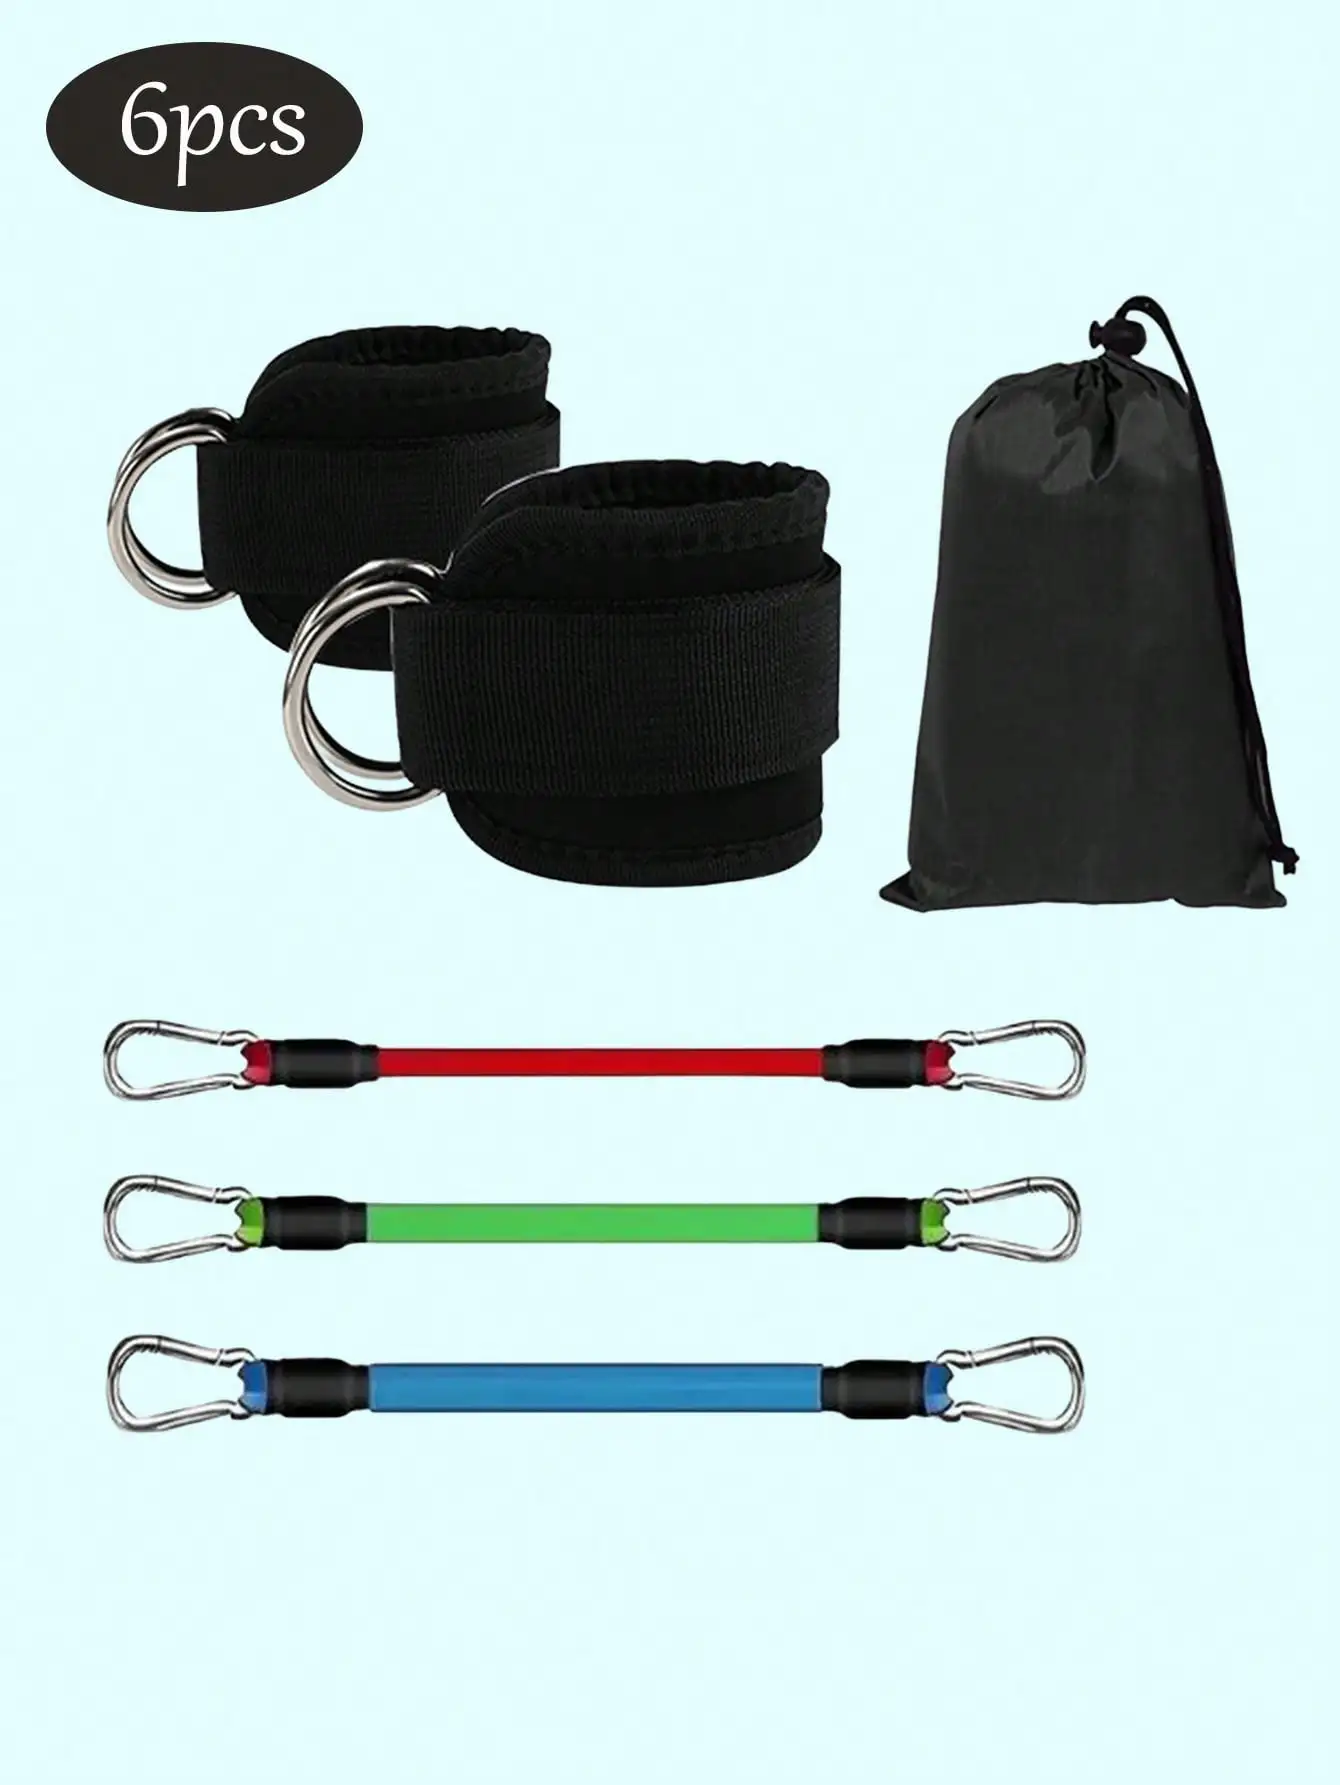
| Set contents | 6-piece or 11-piece set (variant dependent) |
|---|---|
| Resistance levels | 5 gradient levels, colour coded |
| Cuffs | Padded adjustable ankle cuffs |
| Attachment | Clip/carabiner style connection |
| Trains | Glute medius/maximus, hip abductors, adductors, hamstrings, quads |
| Anchor needed | Low fixed anchor or door anchor |
| Material | Elastic exercise band with fabric cuffs |
| Portability | Packs flat — carry bag typically included |
Care & Maintenance
Keep bands away from heat, direct sunlight and oil-based lotions — all three degrade elastic and are the usual reason a band snaps early. Wipe them clean and dry, store them out of the light rather than in a hot car, and retire any band showing a nick, a shiny stretched patch or surface cracking. Bands are consumables; replacing one is cheaper than an eye injury.
What’s in the Box
6-piece or 11-piece ankle resistance band set depending on the variant: resistance bands in 5 gradient levels, padded ankle cuffs, door anchor and carry bag. Exact contents vary by option selected.
Reviews
There are no reviews yet.