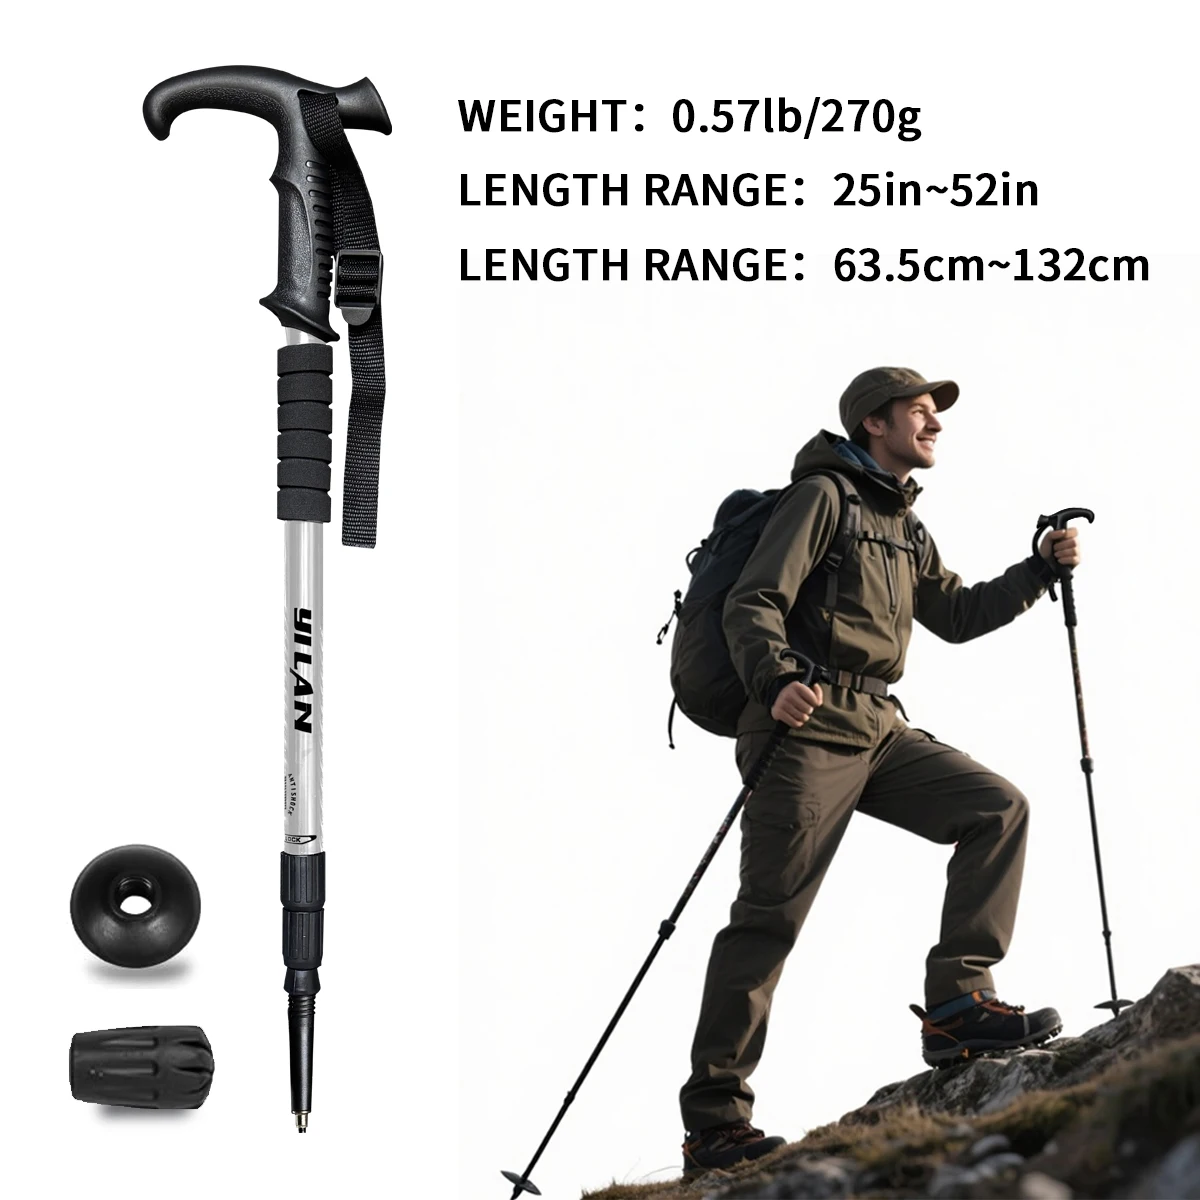
Take the Load Off Your Knees on the Way Back Down
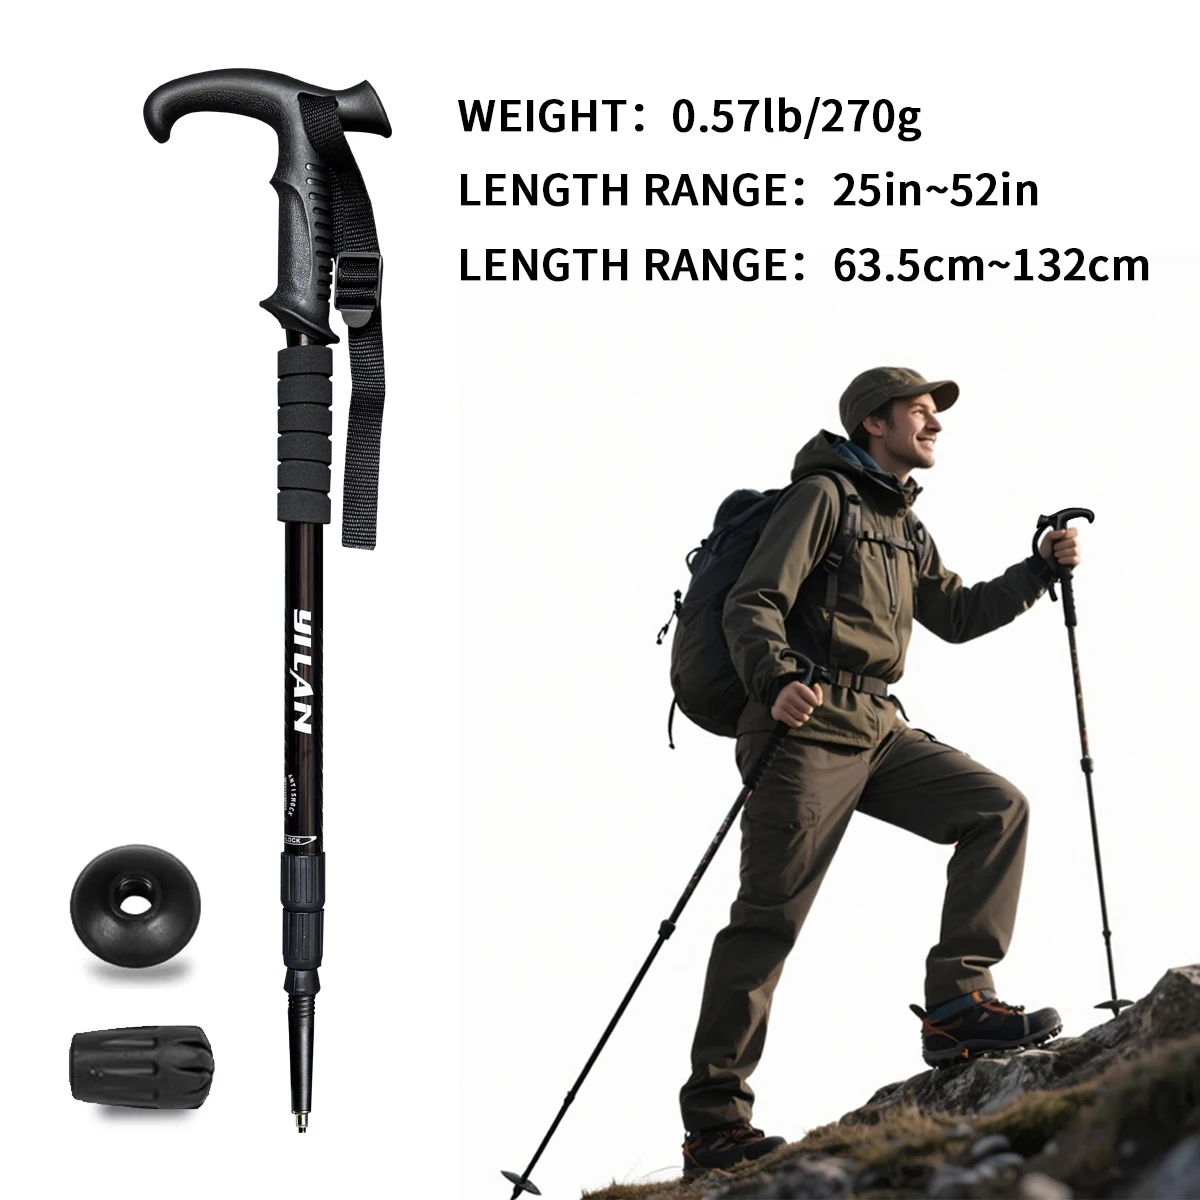
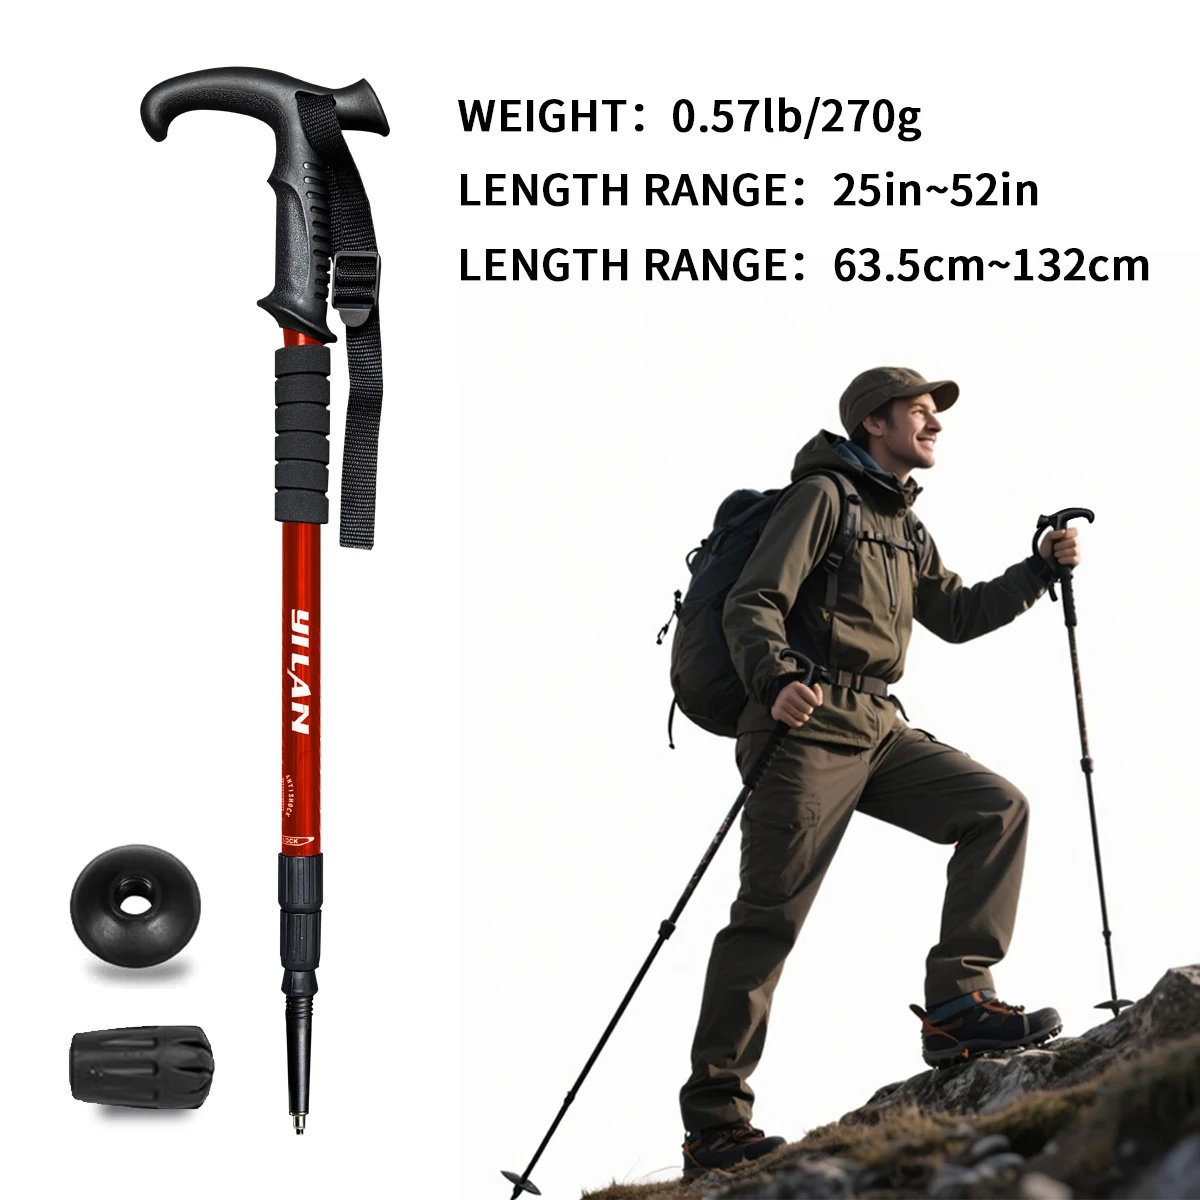
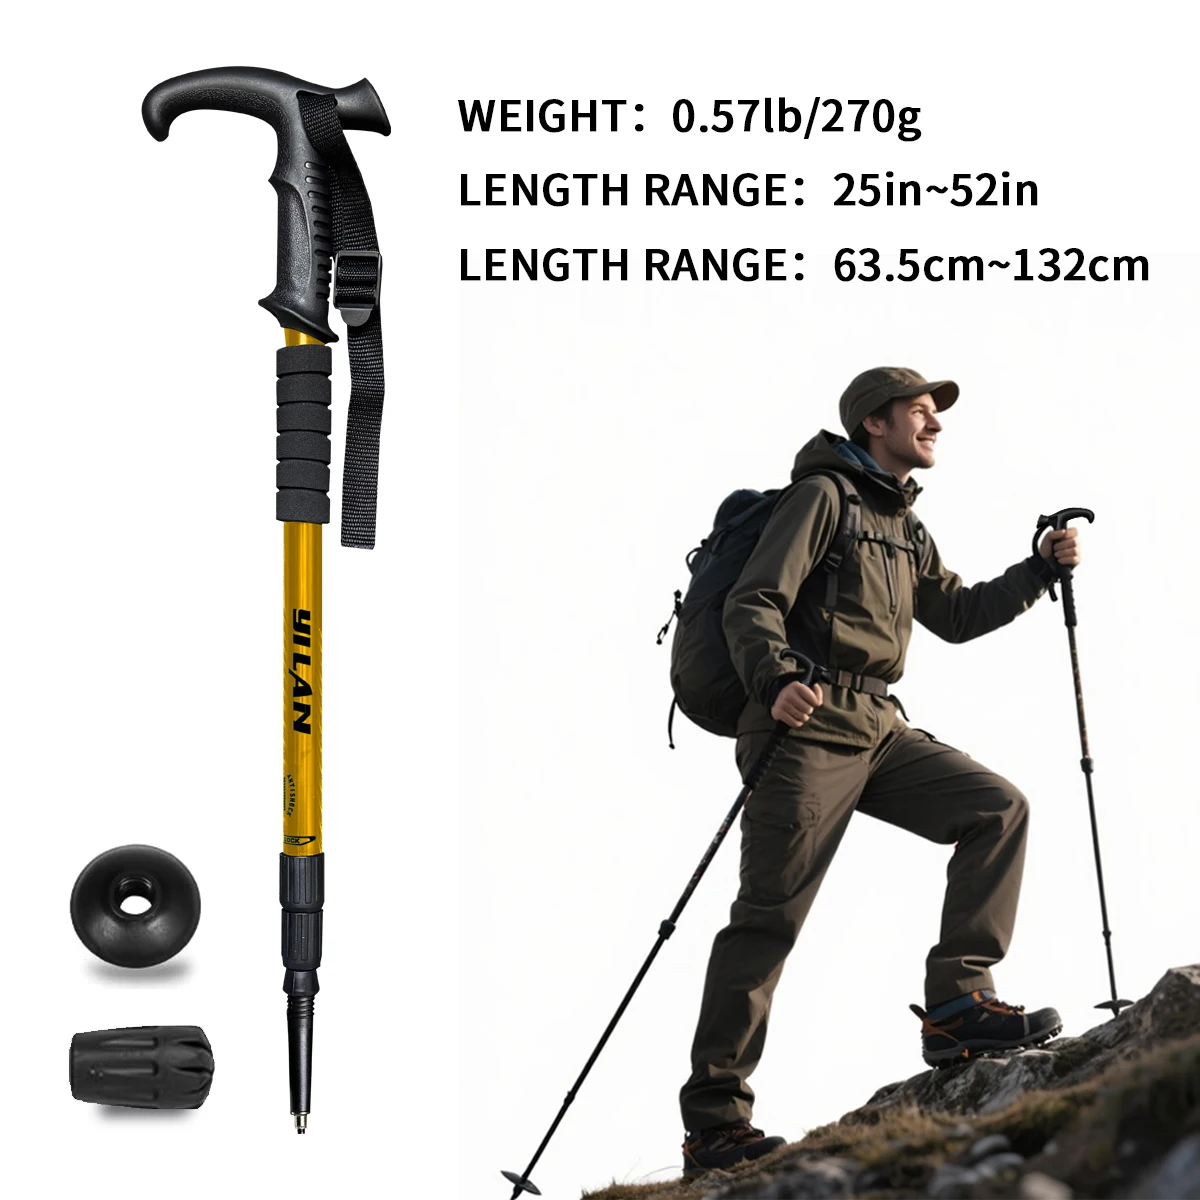
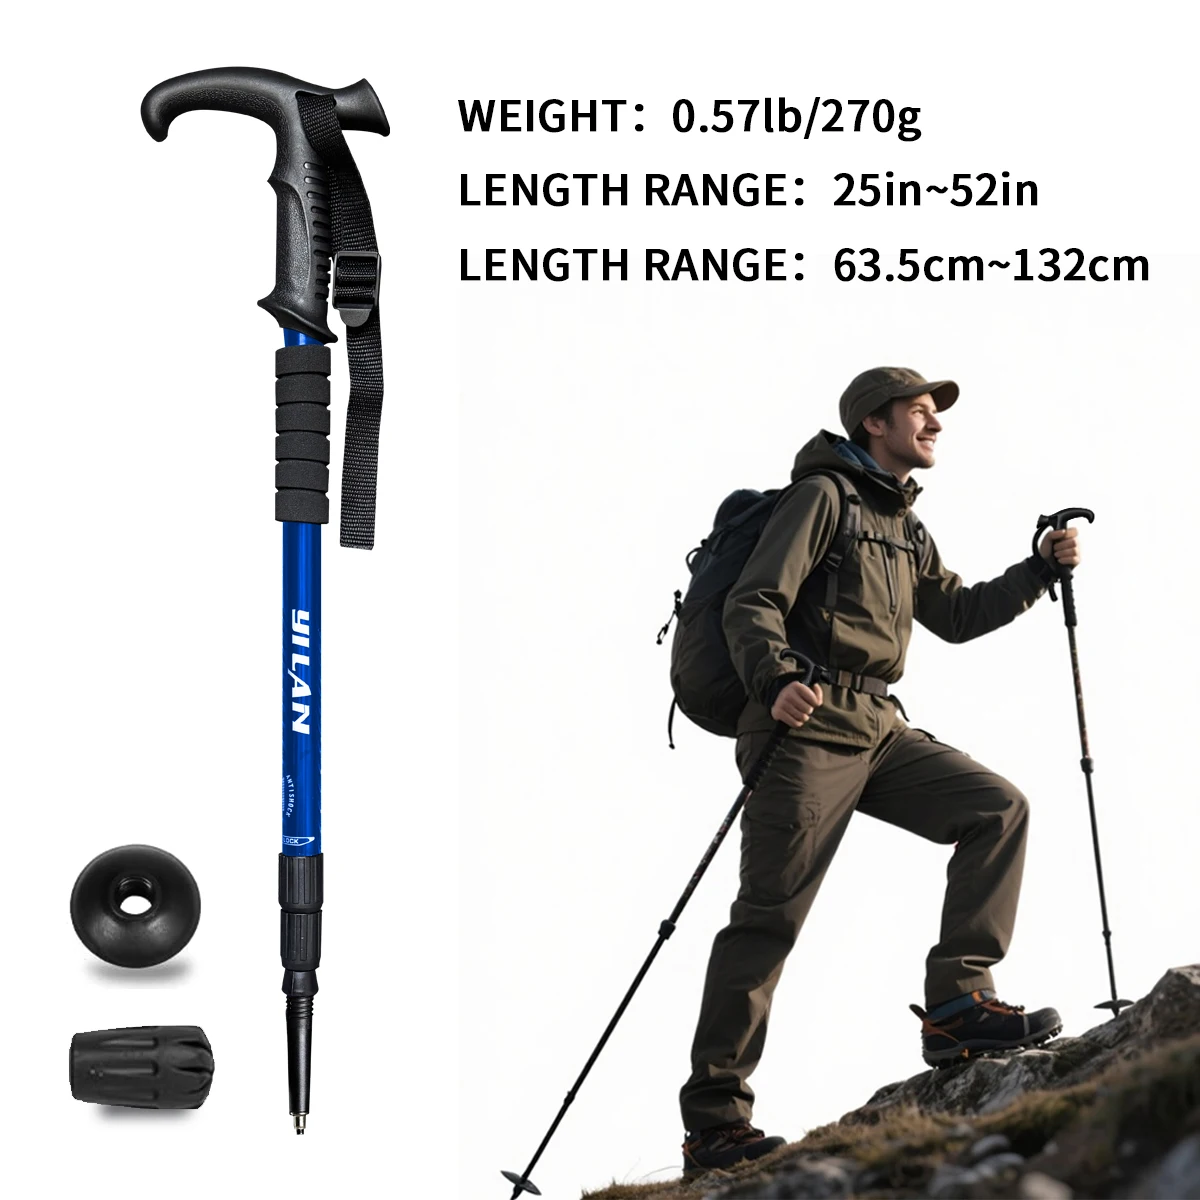
Going downhill, your quadriceps work eccentrically to brake each step, and the knee joint absorbs forces of several times bodyweight — repeated thousands of times over a descent. Planting a pole ahead of you lets your arms and shoulders intercept part of that braking impulse and route it into the ground before your leg ever takes it. Research on pole use consistently shows meaningfully reduced peak forces at the knee on descents. The internal anti-shock spring softens the jolt travelling back up the shaft when the tip strikes rock.
Key Benefits
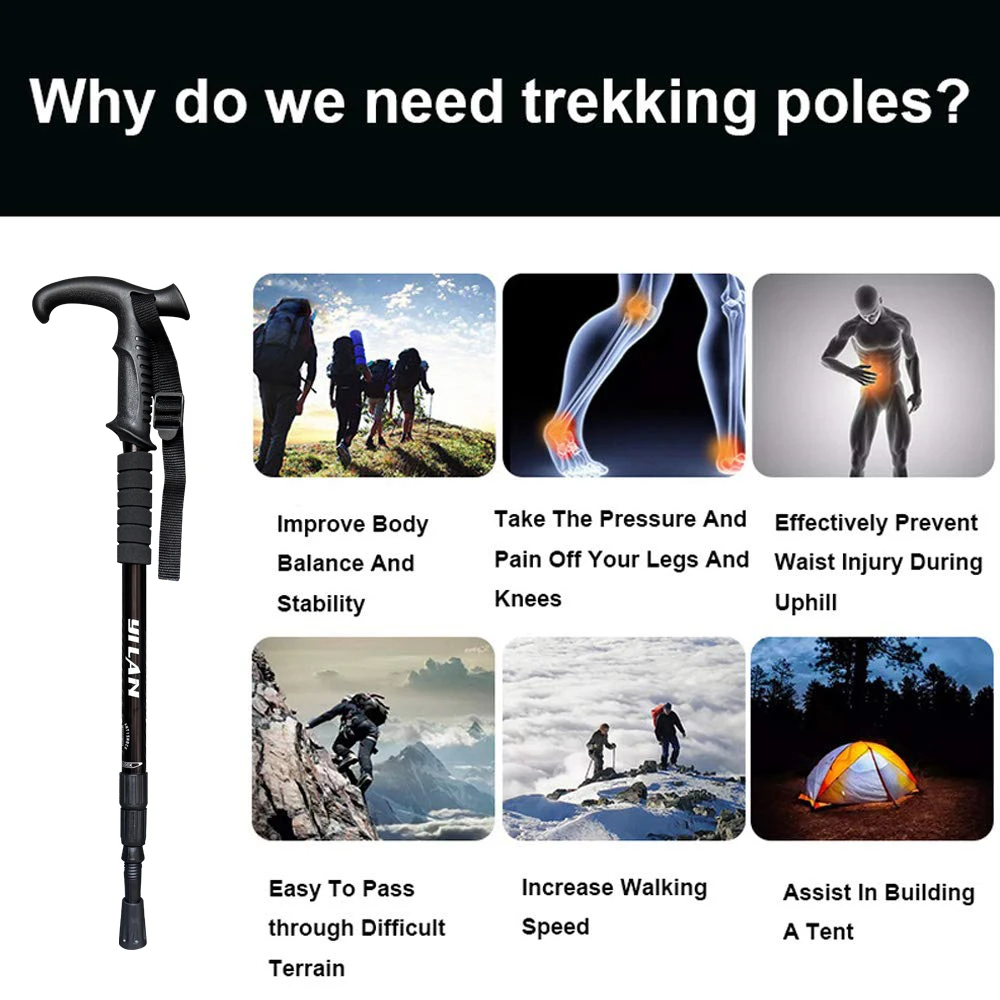
- Real load reduction on descents. Poles are not a placebo: planting them redistributes braking force through the upper body, sparing the quadriceps and knee joint on the section of a hike that causes most damage.
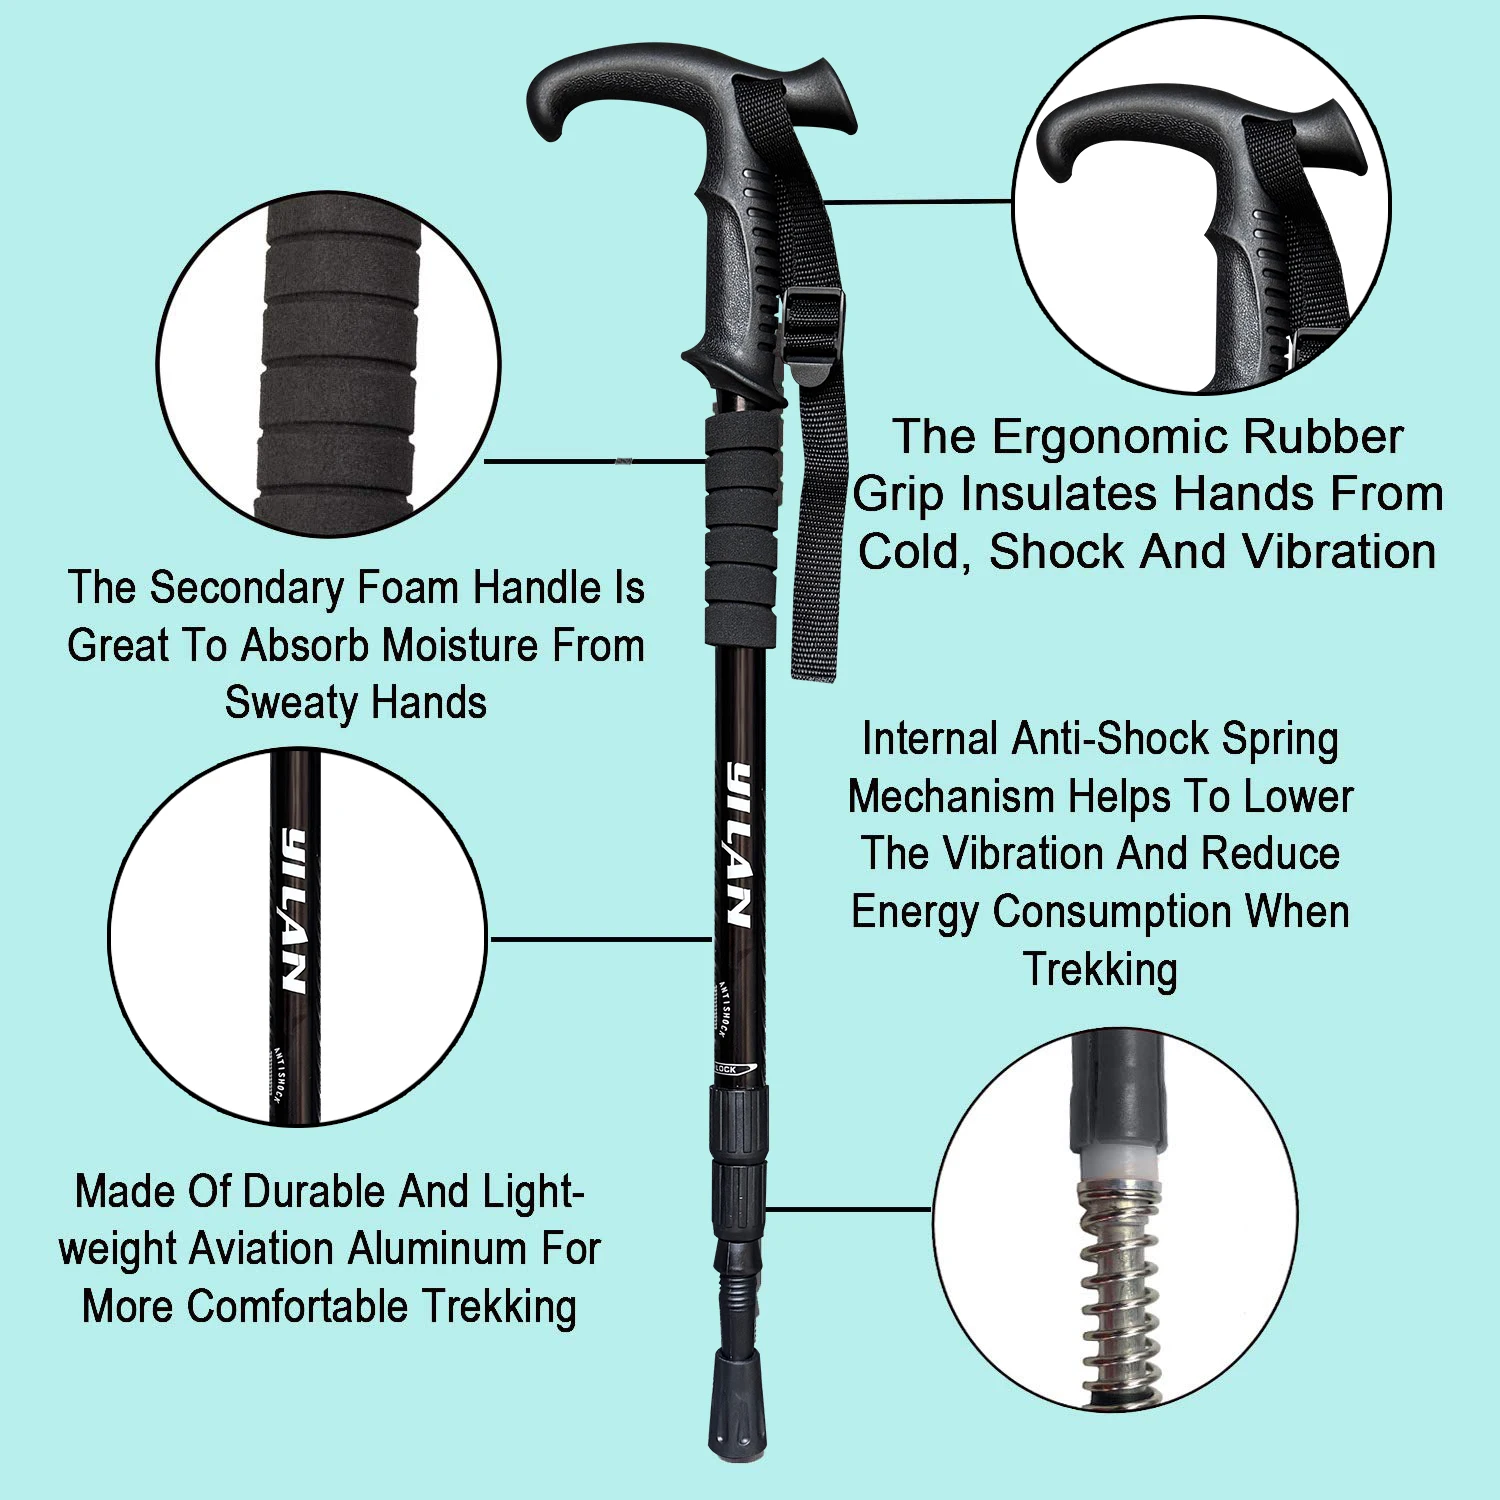
- Anti-shock spring in the shaft. A compression spring absorbs the impact spike when a carbide tip lands on rock, which reduces the buzz transmitted into wrists and elbows over long days.
- Quick-lock external levers. Lever locks adjust in seconds with gloves on and hold better under load than internal twist-locks, which slip once grit gets into the mechanism.
- Aluminium alloy, not carbon. Aluminium bends rather than shattering under sideways load. If you wedge a pole in rock and fall on it, this is the failure mode you want.
- Balance on unstable ground. Two extra contact points transform river crossings, scree, wet roots and snow from a balance problem into a walking problem.
- Honest limits. Poles reduce leg load but transfer work to your arms and raise your energy cost slightly. They help most when carrying a pack or descending; on flat, easy trail they are optional.
How to Use
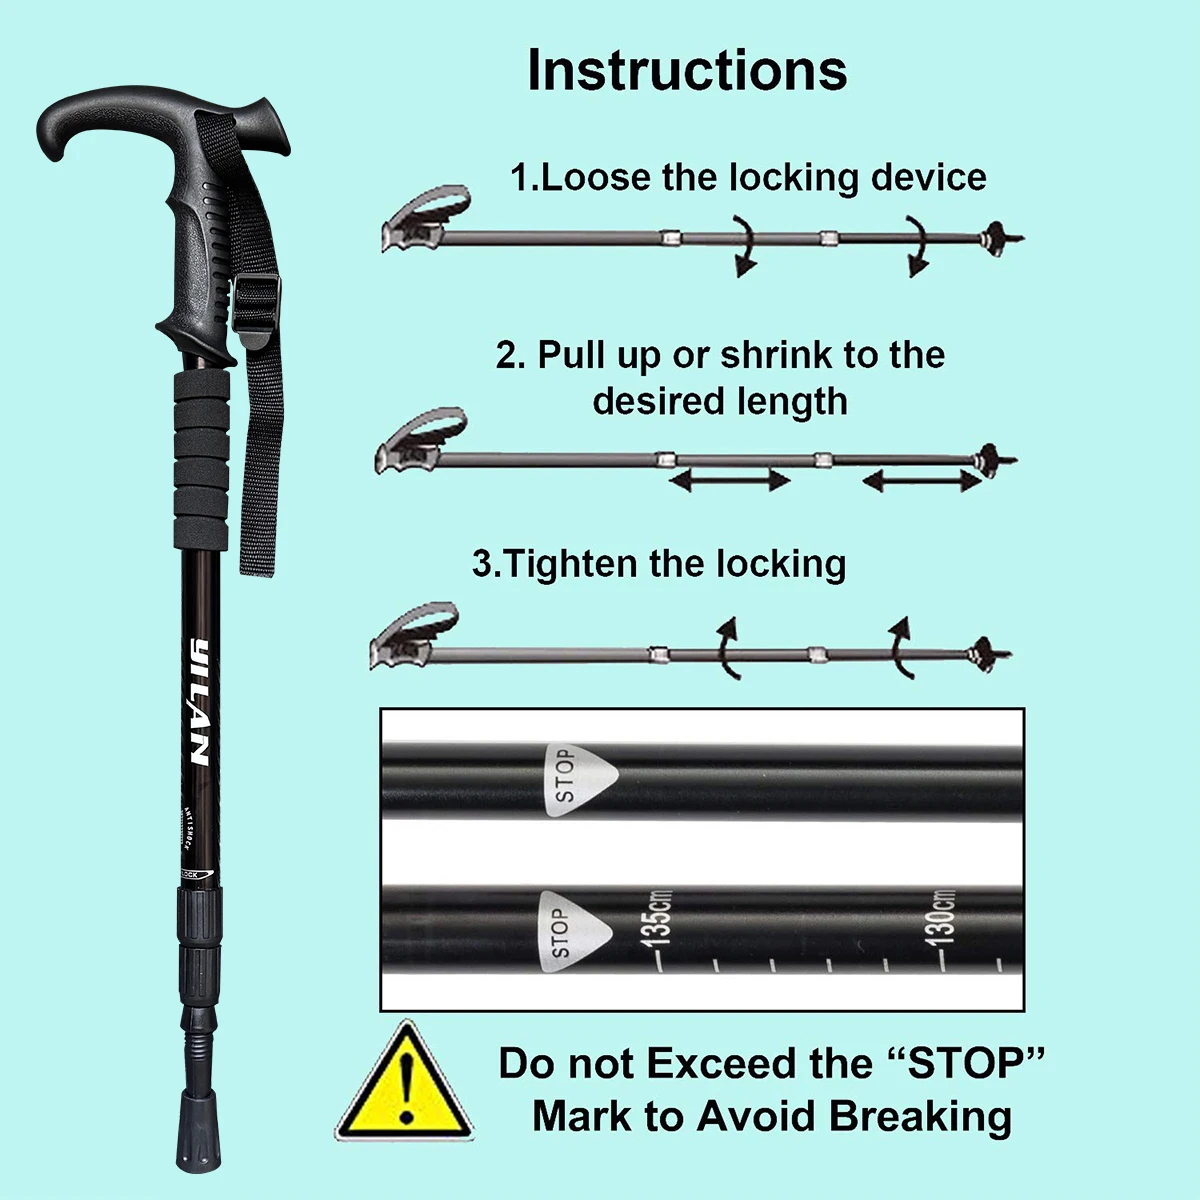
Set the length so that with the tip on the ground your elbow sits at roughly 90 degrees. Shorten by 5–10cm for sustained climbs and lengthen by 5–10cm for descents so you are not reaching down. Thread your hand up through the strap from below, then grip down over it — this lets you drive weight through the strap and relax your fingers instead of squeezing all day. Plant the pole roughly level with your leading foot, not far out in front. Safety: check both lever locks are tight before every walk, since a lock that slips mid-descent will drop you. Do not trust a pole to arrest a real fall on scree, and retract and stow them when scrambling so you keep both hands free.
Specifications
| Material | Aluminium alloy shaft |
|---|---|
| Locking system | External quick-lock levers |
| Shock absorption | Internal spring anti-shock mechanism |
| Adjustment | Telescoping; length range variant dependent |
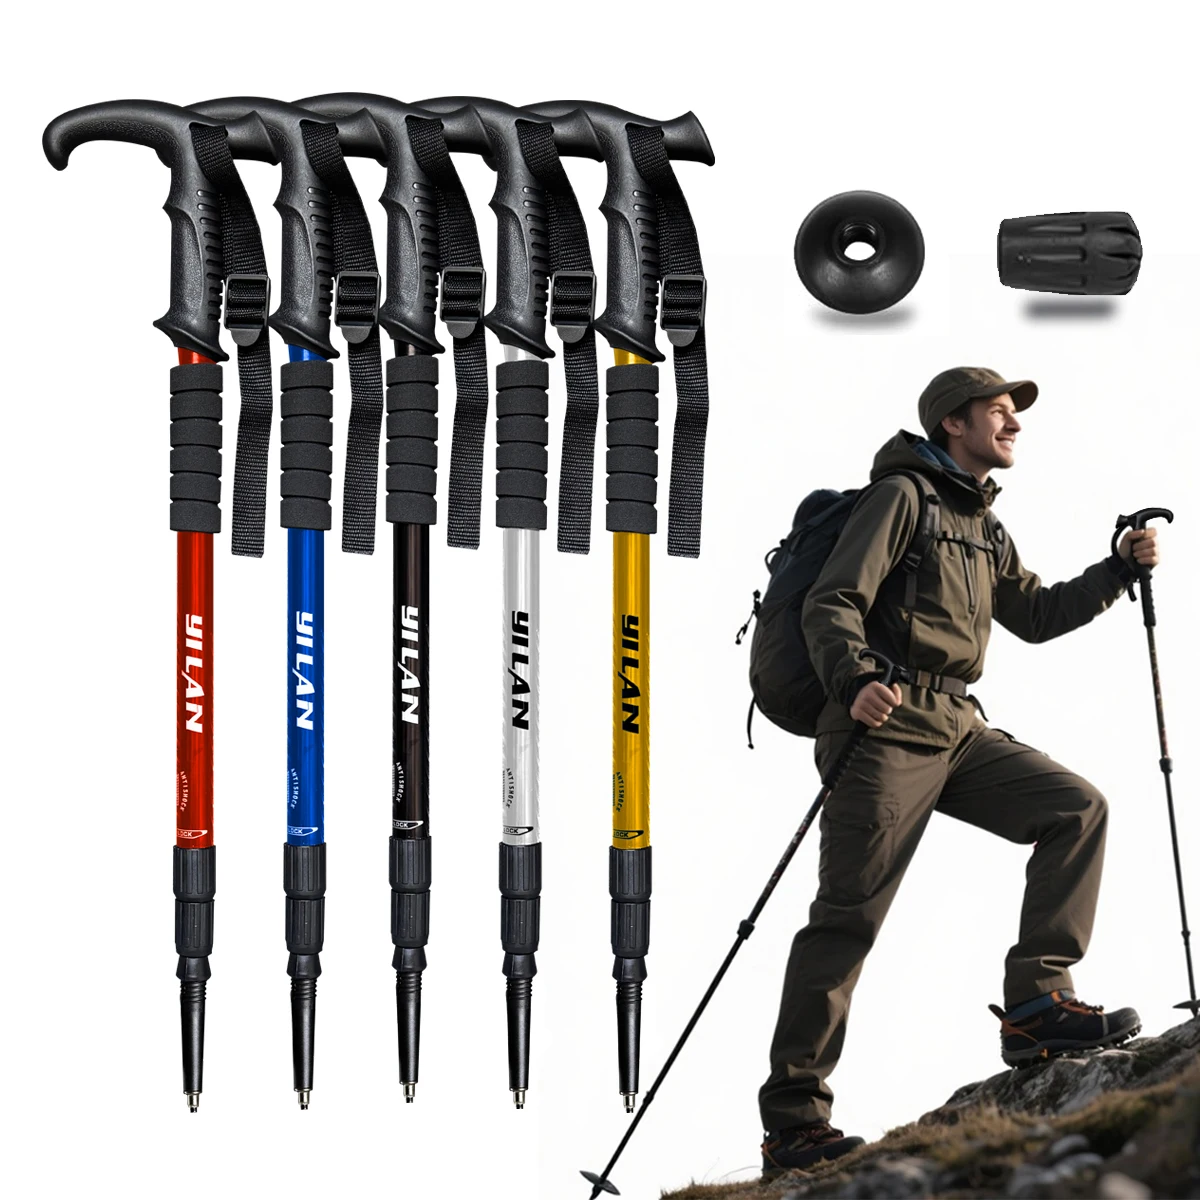
| Grip | Ergonomic grip with adjustable wrist strap |
| Sold as | Pair or single — variant dependent |
| Tips / accessories | Tip protectors and baskets — variant dependent |
| Intended use | Hiking, trekking, mountaineering, backpacking, camping |
Care & Maintenance
Extend the sections fully and let them dry after wet or muddy walks — water trapped inside a collapsed pole corrodes the shaft and seizes the locks. Wipe grit off the shafts before collapsing, since grit under a lever lock is the usual cause of slipping. Tighten the lever tension screw a quarter-turn if a section starts creeping under load. Replace worn tips before the metal ferrule itself starts to grind down.
What’s in the Box
Trekking poles (pair or single, variant dependent) with fitted wrist straps and tip protectors. Baskets and carry pouch vary by variant.

Reviews
There are no reviews yet.