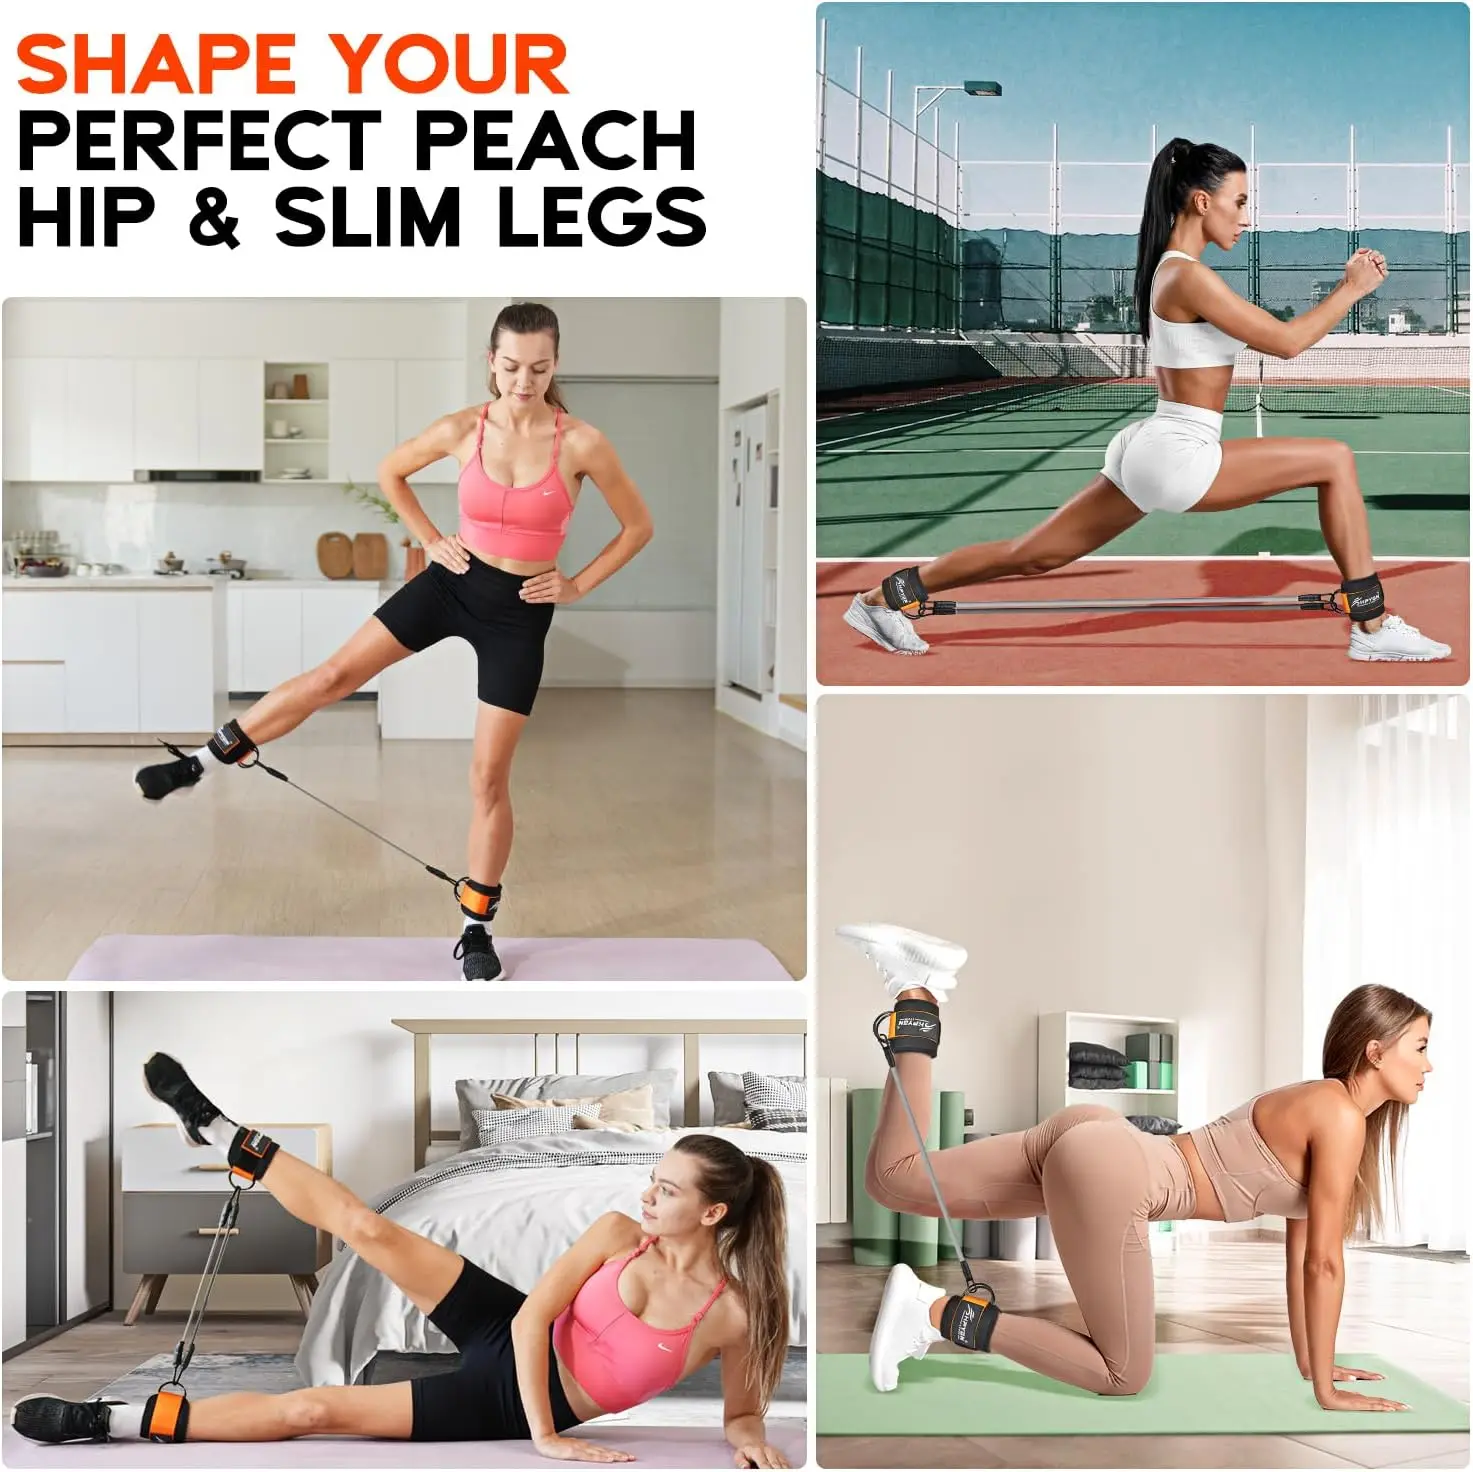
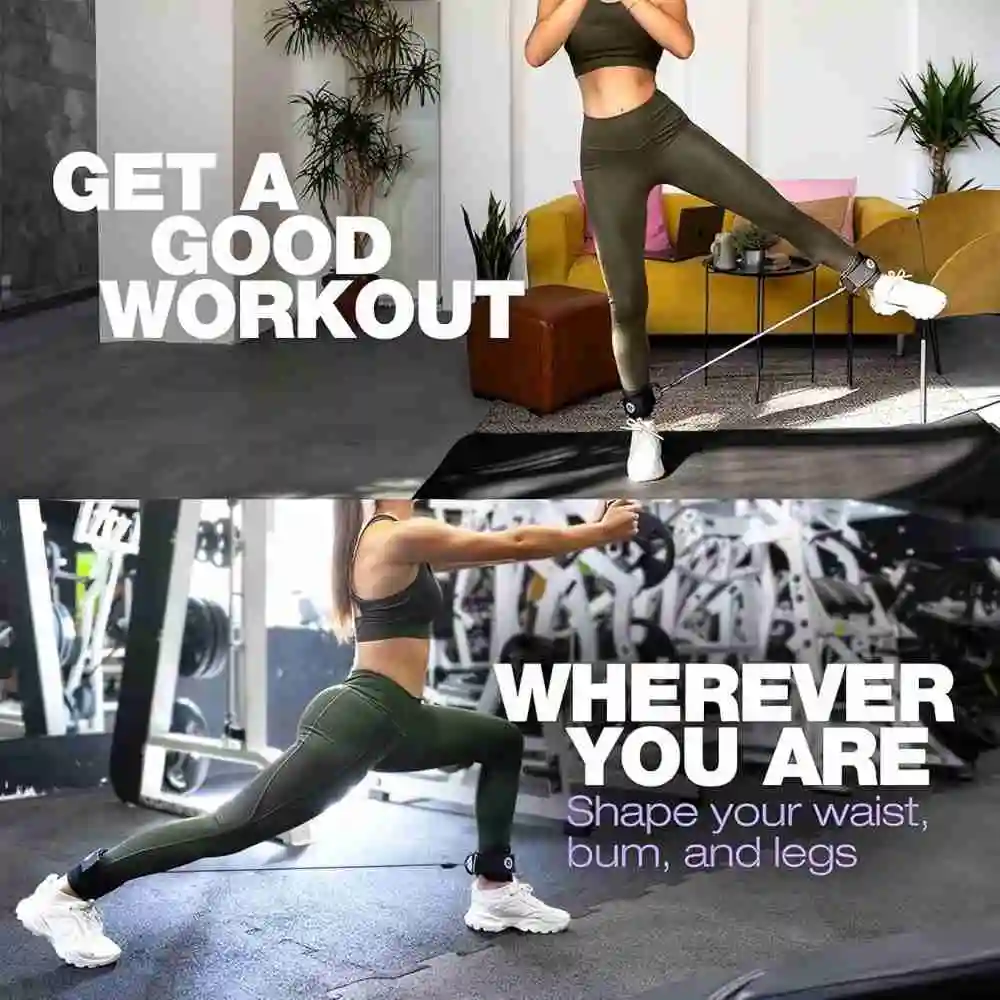
Load the Hip Directly, Not Through Your Lower Back
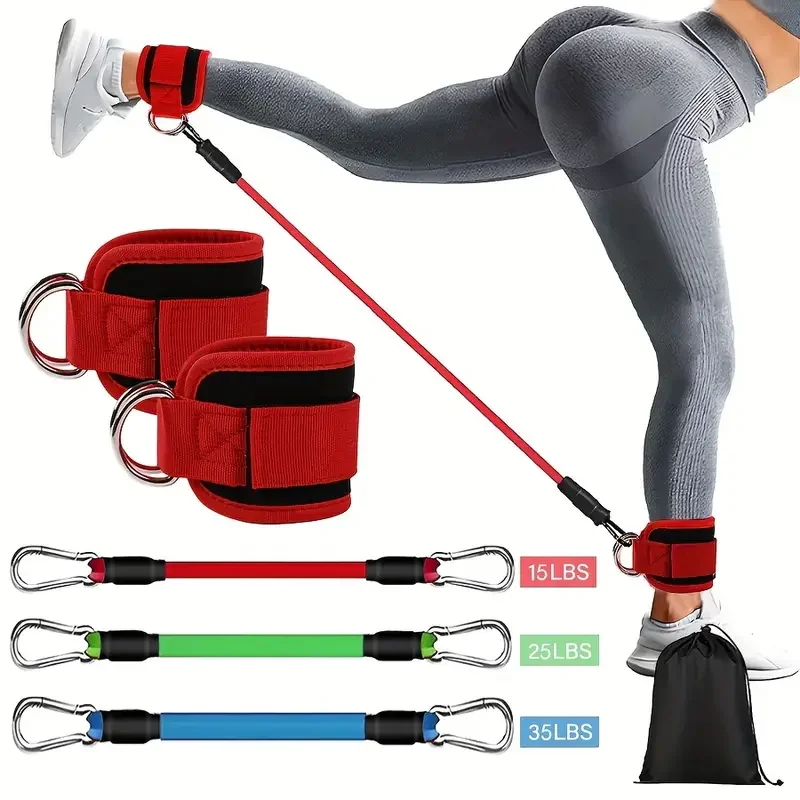
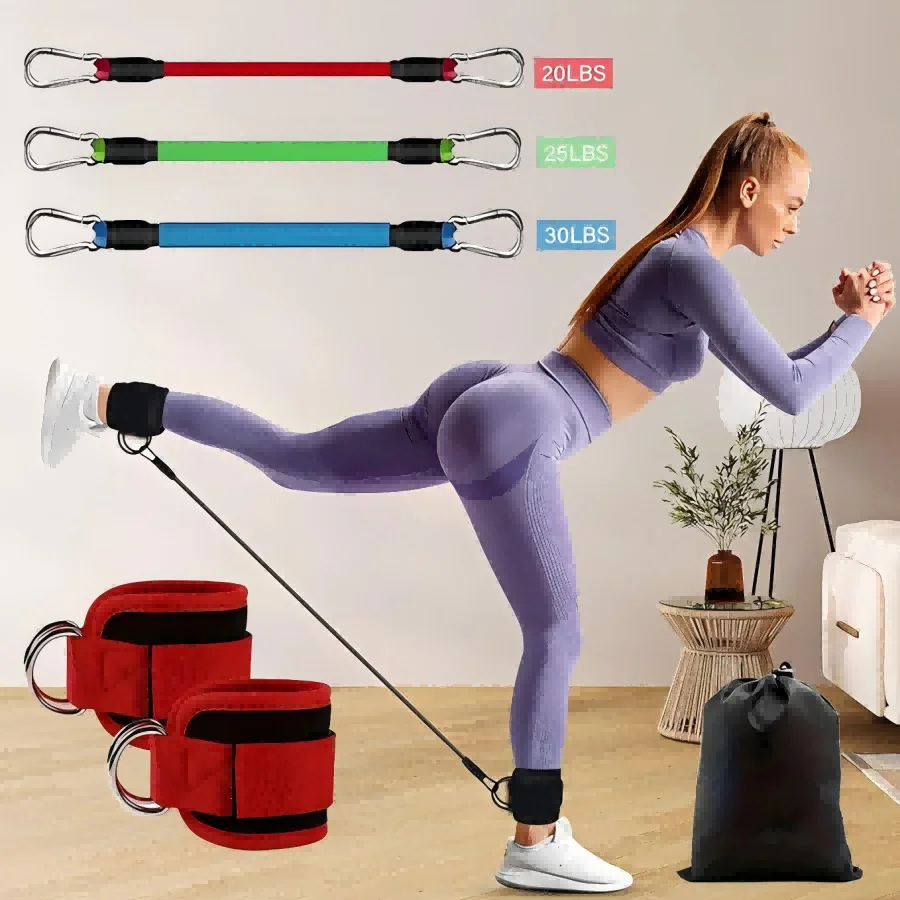
Where you attach resistance determines what has to produce the force. Put a load on your back and the spine carries it before the hips ever see it. Strap it to your ankle and the resistance sits at the far end of a long lever, so a modest band tension becomes substantial torque at the hip — and the spine is barely involved. That is why ankle cuffs are a staple of rehabilitation and glute-focused training: they let you overload hip extension and abduction hard while keeping axial compression close to zero, which matters when your back is the reason you are training in the first place.
Key Benefits
- Long-lever hip loading: resistance at the ankle produces high torque at the hip from relatively light band tension, so you can work the glutes hard without heavy external load.
- Minimal spinal compression: the load path bypasses the spine almost entirely, making these usable when squats and deadlifts are off the table or being reintroduced carefully.
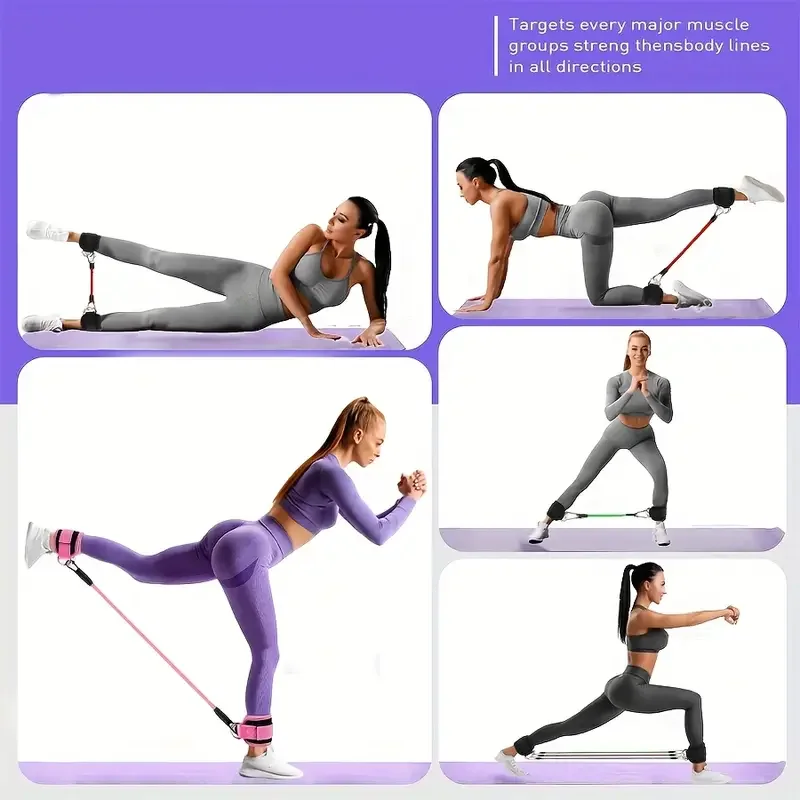
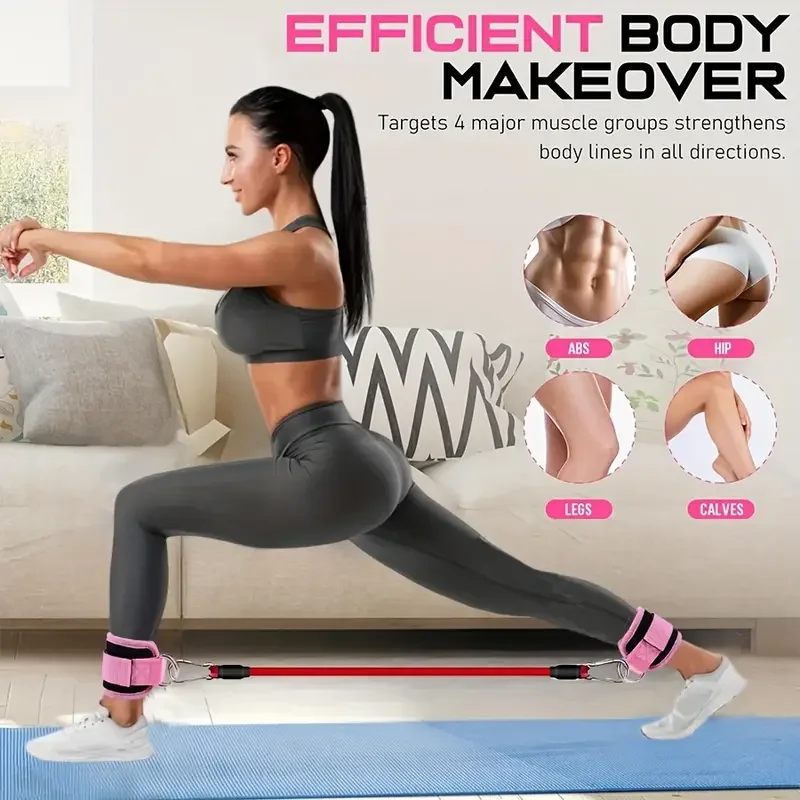
- True isolation: kickbacks, standing abductions and fire hydrants target the glute maximus and medius individually, which compound lifts distribute away from.
- Adjustable padded cuffs: the straps adjust to the ankle so the band pulls from a stable point rather than sliding down the leg mid-set and shifting the resistance angle.
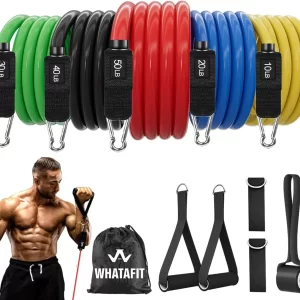
- Five resistance levels: a genuine progression path, and a light band is enough for early rehab-style work while the heavier ones support strength training.
- Mesh carry bag included: the whole set stores in a pocket, so travel and hotel rooms stop being an excuse to skip lower-body work.
How to Use
Fasten the cuff snugly around the ankle over a sock — tight enough not to migrate, not so tight it digs in — and anchor the band low and to something genuinely immovable, at roughly ankle height so the resistance pulls along the plane you are working in. For kickbacks, stand tall, brace the abdomen, and drive the leg straight back from the hip; the moment your lower back starts arching to get more range, you have left the glutes and are simply extending your spine, and that is where people give themselves back pain with an exercise meant to protect it. Keep the ribcage down and the pelvis still, and let the movement happen at the hip joint alone. Ten to fifteen controlled reps per side, resisting the band on the way back rather than letting it snap the leg home. Safety: inspect every band before every use for nicks, small tears or a chalky, cracked surface, and discard any band that shows them — a band that fails under tension recoils at speed. Never stretch a band toward your face, never anchor to a door hinge, a chair leg or anything that can move or tip, and check the anchor is secure before you load it. Keep bands away from grit and sharp edges.
Specifications
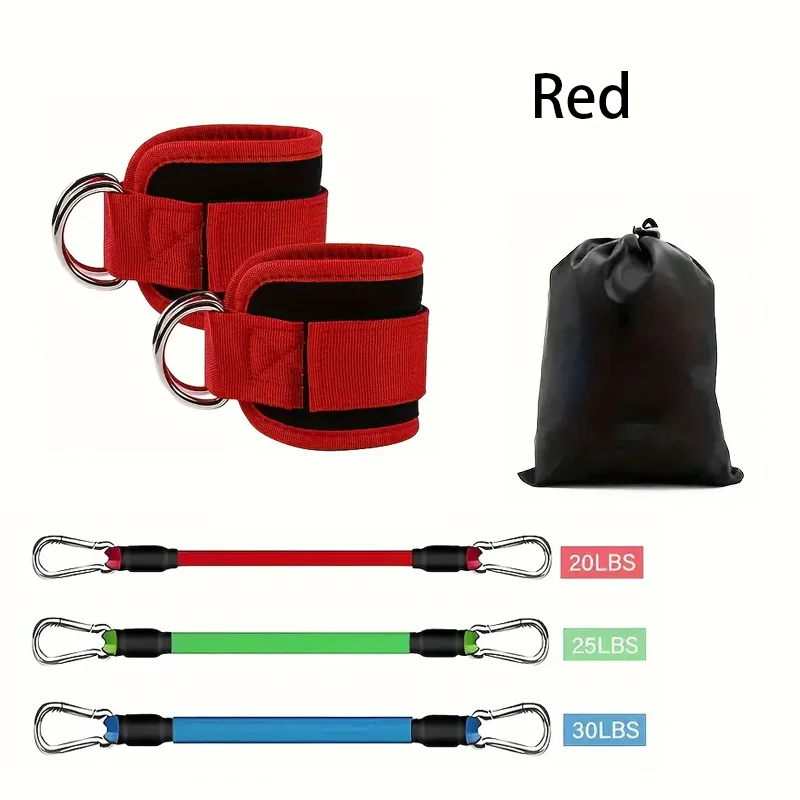
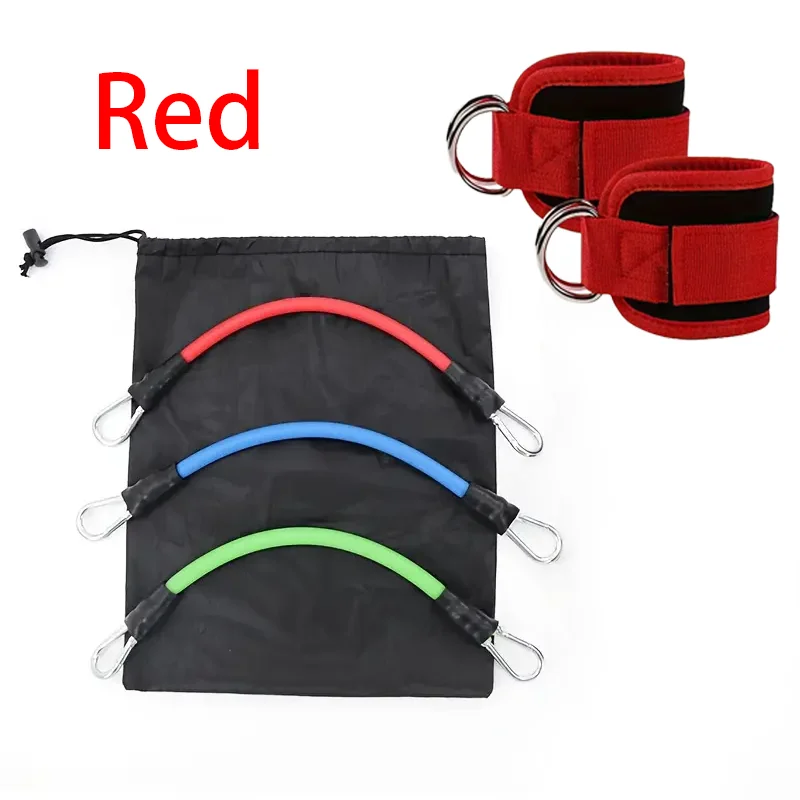
| Set contents | 5 resistance bands with adjustable ankle straps |
|---|---|
| Resistance levels | 5 levels — variant dependent |
| Cuffs | Adjustable ankle straps |
| Primary targets | Glute maximus, glute medius, hip abductors, hamstrings |
| Typical exercises | Kickbacks, standing abduction, fire hydrants, hip extensions |
| Storage | Mesh carrying bag included |
| Spinal loading | Minimal — resistance bypasses the spine |
Care & Maintenance
Wipe the bands and cuffs down after sweaty sessions and let them air-dry fully before packing them back into the mesh bag — a damp band sealed in a bag is how elastic degrades and how the straps start to smell. Keep them out of direct sunlight and away from heat sources, both of which make elastic brittle. Store loosely rather than knotted or under tension. Bands are consumables: retire any that show surface cracking, nicks, or a noticeable change in stretch, well before they fail.
What’s in the Box
5 x resistance bands, adjustable ankle straps, and a mesh carrying bag.
Reviews
There are no reviews yet.