Why a Fluid Trainer Feels Like the Road and a Magnetic One Doesn’t
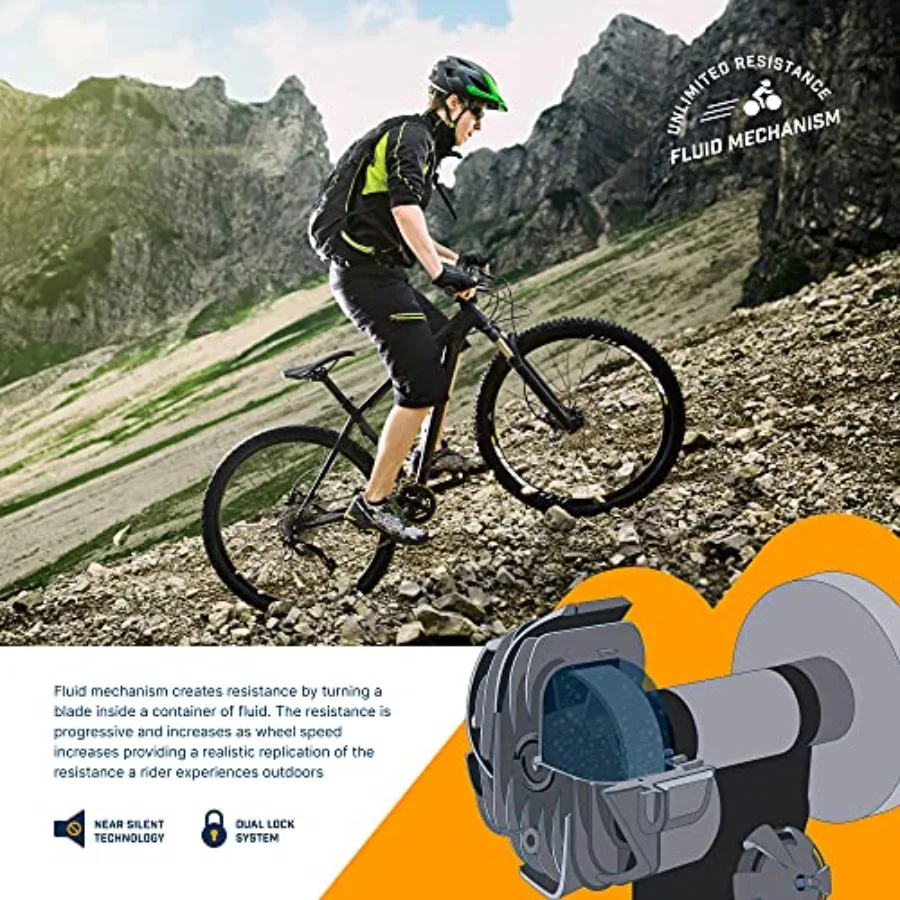
Inside the resistance unit, an impeller spins in a sealed chamber of viscous fluid. Drag through a fluid rises roughly with the square of speed, so the faster you pedal, the disproportionately harder it gets — resistance climbs on its own, exactly the way air resistance climbs when you accelerate outdoors. That is the whole point of fluid over magnetic: a magnet gives you fixed steps you have to select, while fluid gives you a smooth, continuous curve you control purely with your gears and your legs. It also loads the pedal stroke evenly, so there is no dead spot at the top of the circle.
Key Benefits
- Progressive resistance, no dial — resistance scales with wheel speed, so you shift gears and change cadence instead of stopping to move a lever. Sprints, threshold blocks and recovery spins all come from the same setup.
- Genuine road feel — the fluid chamber gives a smooth, continuously loaded pedal stroke and a flywheel-like inertia that magnetic trainers struggle to imitate.
- Noise reduction build — the loudest thing on a fluid trainer is usually your tyre and your drivetrain, not the unit. Fit a smooth trainer tyre and the noise drops again.
- Stainless steel frame — corrosion matters here, because you will drip sweat on this frame for hours. Stainless takes it; painted mild steel eventually doesn’t.
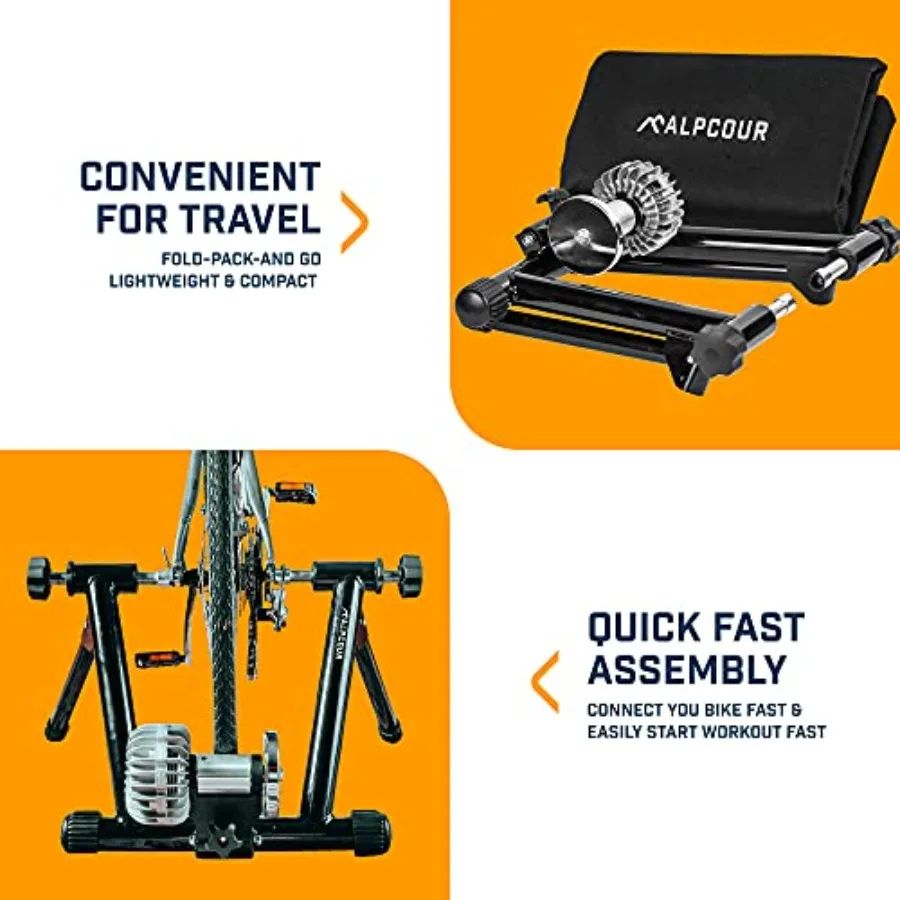
- Folds flat for storage — collapses down to stand against a wall or slide under a bed between sessions.
- Trains the things weather steals — sustained power, cadence control and heat tolerance, all with zero traffic and zero coasting.
How to Use
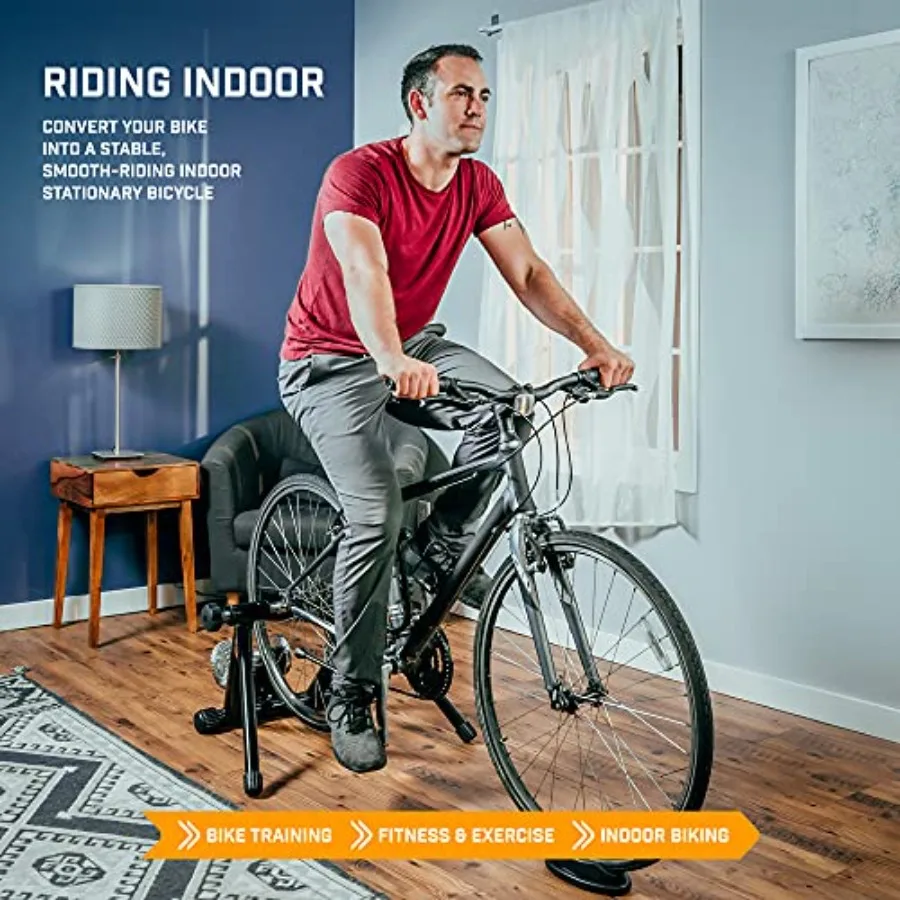
Set up on a level, hard floor with a trainer mat underneath — it catches sweat, protects the floor and cuts vibration transfer to the room below. Clamp the rear skewer firmly in the trainer cups, then tighten the roller against the tyre until it grips without deforming the tyre: too loose and it slips under load, too tight and it wears the tyre and adds drag. Check the tyre pressure before every session; it changes the resistance curve. Start with 10 minutes easy — indoor riding has no coasting and no cooling airflow, so it is far more demanding than the same duration outdoors. Use a fan and drink more than you think you need. Sweat is highly corrosive to bike components: cover your frame and stem, or wipe them down immediately afterwards. Let the resistance unit cool before you touch it or fold the trainer away.
Specifications
| Resistance type | Fluid (progressive, speed-dependent) |
|---|---|
| Resistance control | Automatic — increases with wheel speed; no manual adjuster required |
| Frame | Stainless steel, foldable |
| Mounting | Rear-wheel clamp with quick-release cups |
| Drive | Roller against rear tyre |
| Noise | Reduced-noise design; a slick trainer tyre lowers it further |
| Storage | Folds flat |
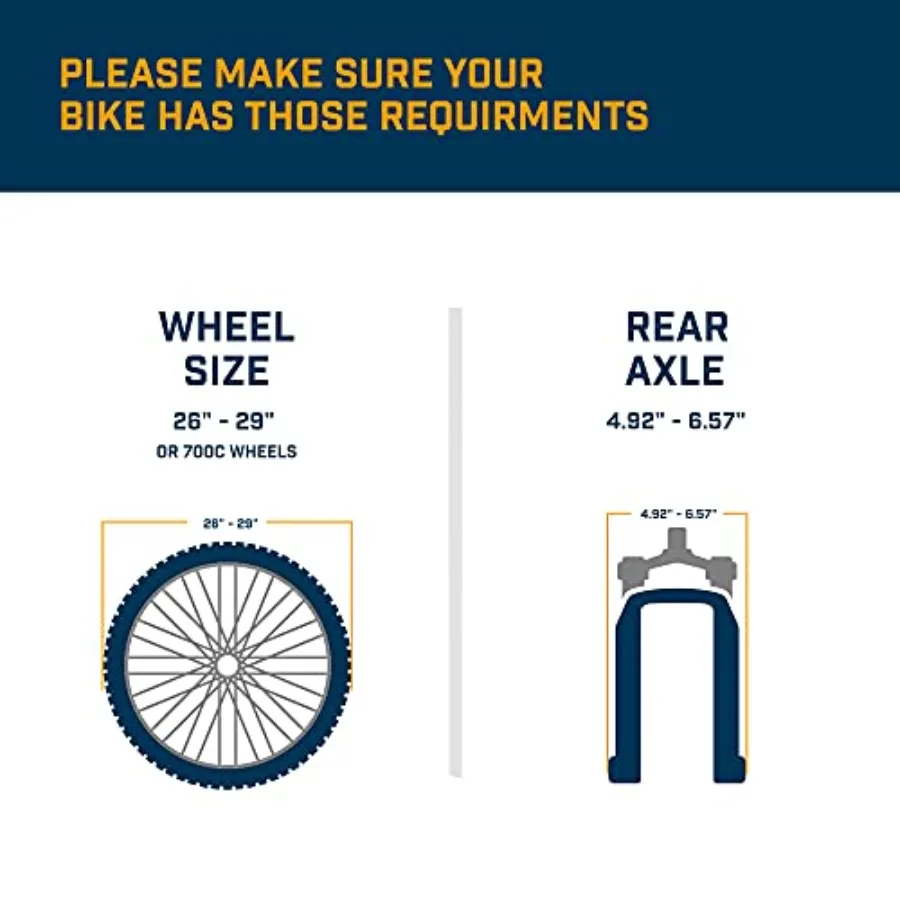
| Bike compatibility | Standard road and MTB rear axles — confirm your axle standard and wheel size against the listing variant |
| Trainer tyre | Recommended, not included |
Care & Maintenance
Wipe the frame and roller down after every ride — dried sweat is salt, and salt eats bearings and bolts. Check the roller for embedded grit before each session, and check the clamp and skewer for tightness. Never open or attempt to refill the sealed fluid chamber. Store somewhere dry, and let the unit reach room temperature before use if it has been stored somewhere cold.
What’s in the Box
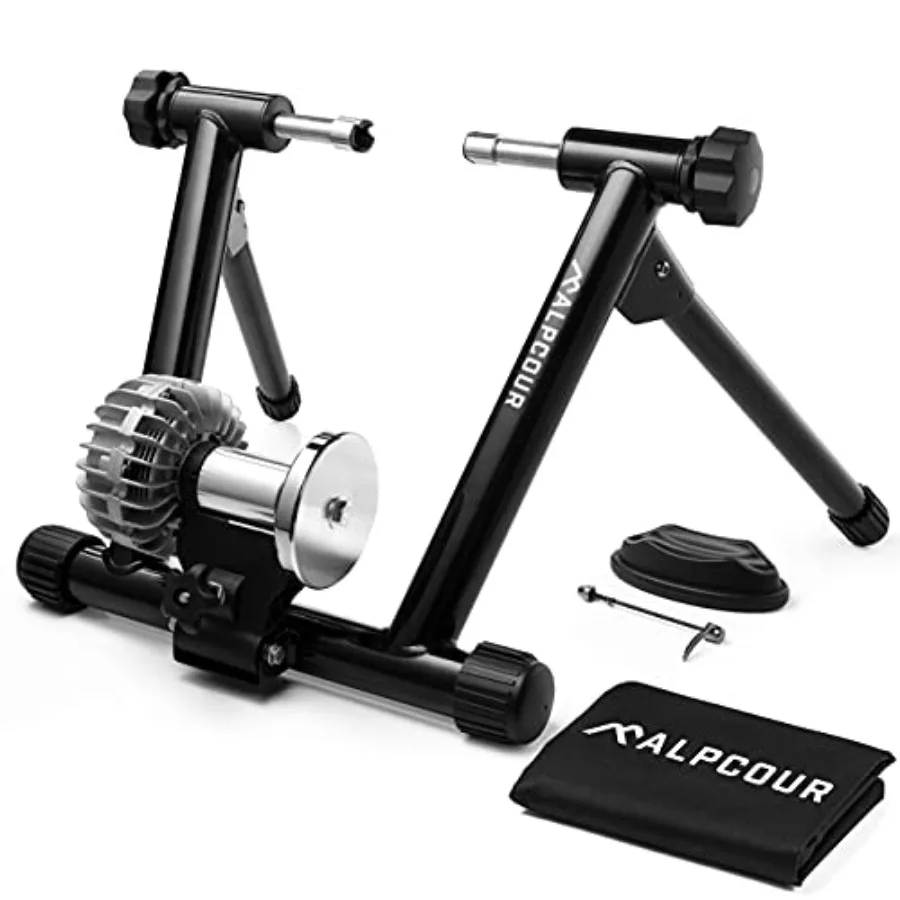
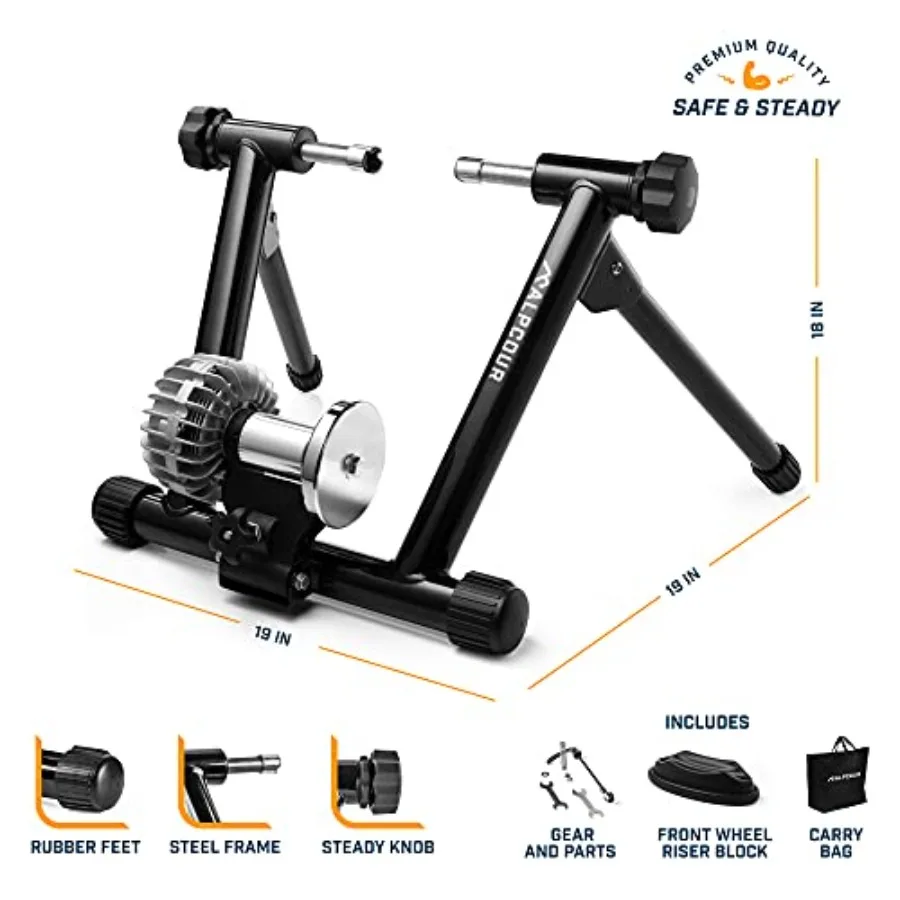
1 x fluid trainer stand with resistance unit, quick-release skewer and mounting hardware. Bike, trainer tyre, mat and riser block are not included unless your variant states otherwise.
Reviews
There are no reviews yet.