
Turn an Ordinary Walk Into a Full-Body Strength Session
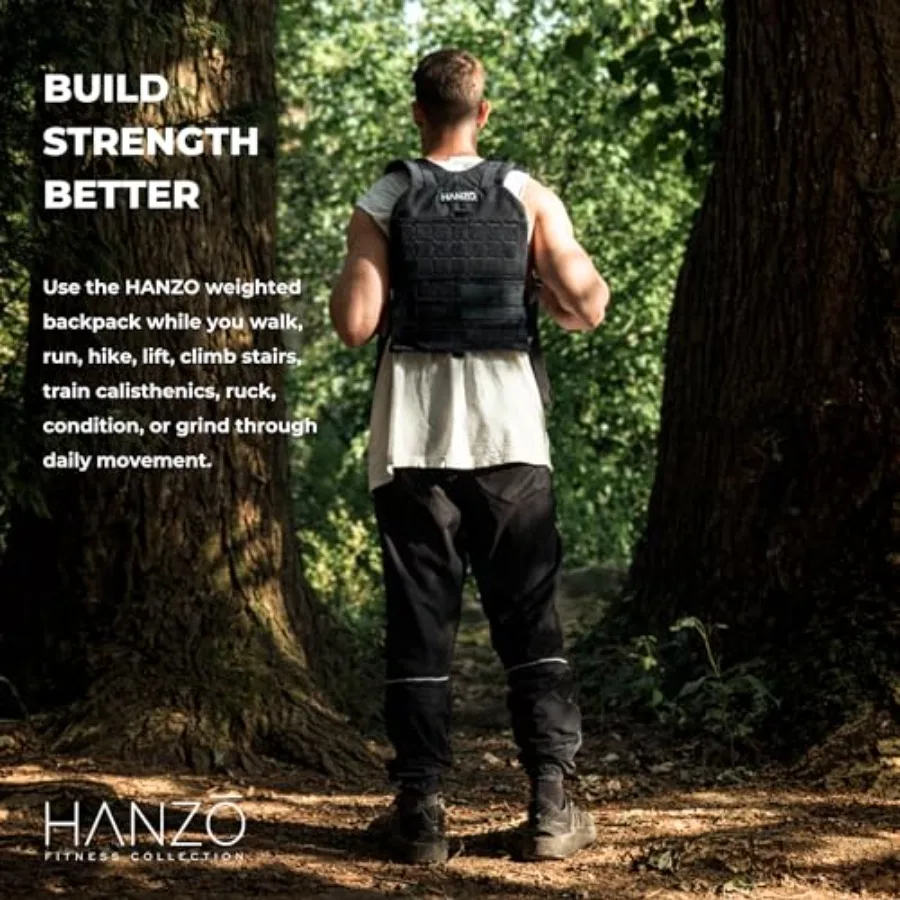
Adding external load to walking changes the physiology of it. Carrying 10–20% of your bodyweight raises the metabolic cost of every step, pushing you into a genuine aerobic training zone at walking speed. At the same time the load is held isometrically: your erector spinae, mid-traps, rhomboids and deep core contract continuously to keep you upright, while the compressive load through your legs and spine provides an osteogenic stimulus that flat walking never delivers. You get strength endurance, cardio and bone loading — with almost none of running’s impact.
Key Benefits
- Aerobic work without the pounding. A loaded walk puts you in a moderate heart-rate zone while your knees, shins and Achilles see a fraction of the ground reaction force of running — which is why rucking is a staple for people rebuilding after lower-limb injury.
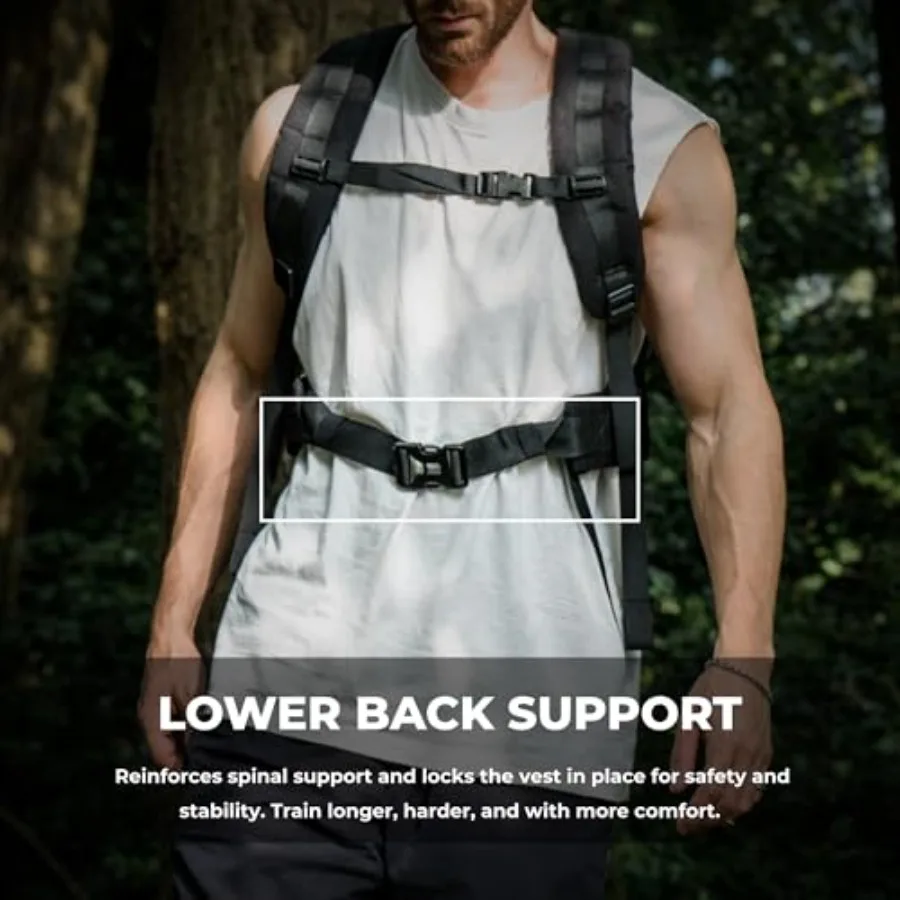
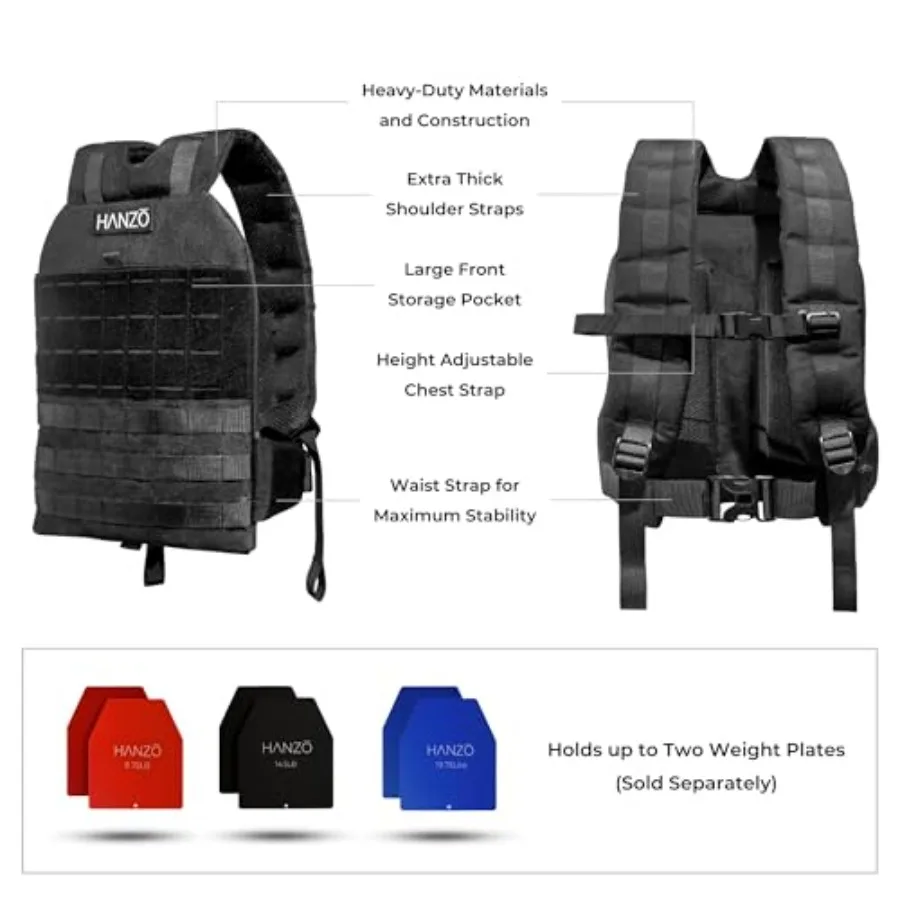
- Lower-back support panel. The padded lumbar panel keeps the load close to your centre of mass rather than hanging off your shoulders, which reduces the forward-lean torque your spinal erectors have to fight all session.
- Postural endurance you can feel. Sustained load carriage trains the upper back to hold position under fatigue — the exact quality that collapses first at a desk.
- Progressive by design. Change one variable at a time: distance, pace, or weight. You always know what you’re adapting to.
- Compression straps keep the load stable. A shifting load is what causes shoulder hot spots and lower-back complaints. Cinching the load tight and high is the single biggest comfort upgrade in rucking.
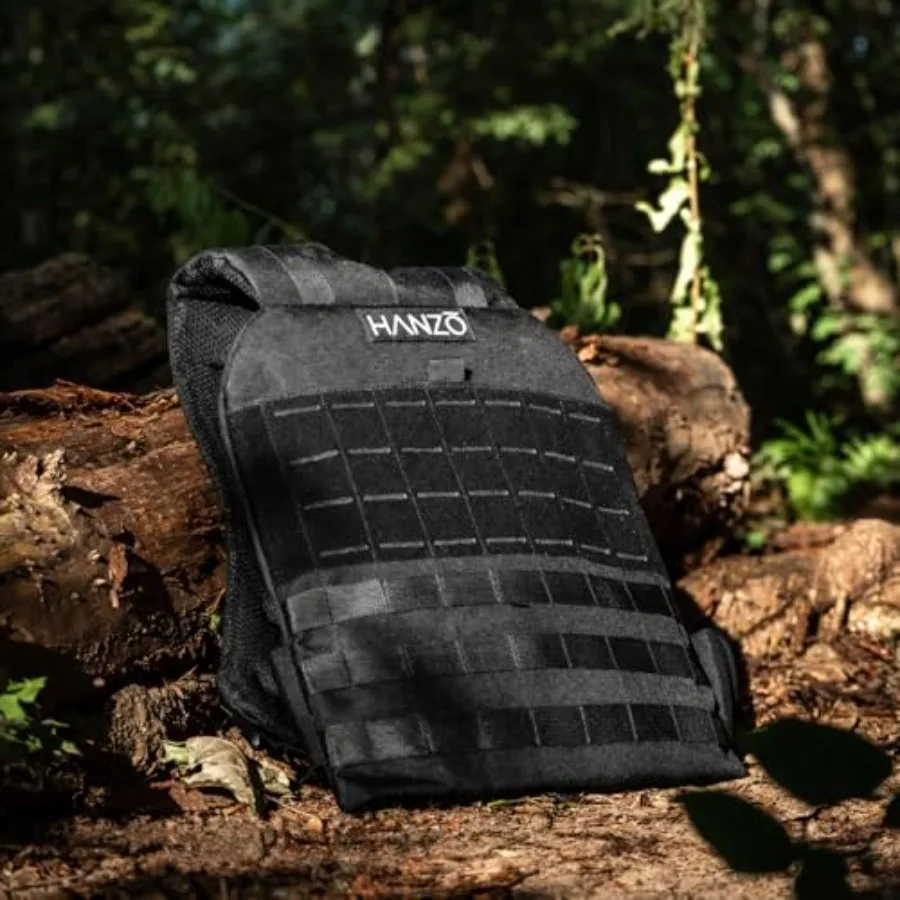
- It doubles as a real backpack. Unload it and it’s a hiking and travel pack — the training happens on days you’d be walking anyway.
How to Use
Start at roughly 10% of your bodyweight and cap yourself around one third of bodyweight even when well trained. Pack the weight high — level with your shoulder blades, not sagging at the base — and cinch every strap so nothing shifts. Walk tall: ribs stacked over hips, chin level, short quick steps rather than a long reaching stride, and let your arms swing. Build distance and time before you add weight; most people who get hurt rucking added load too fast, not distance. Use rigid, purpose-made plates or a well-padded weight — loose dumbbells and plates rattle, concentrate pressure into your spine and are genuinely unsafe. If you have an existing disc problem, spinal condition, or you’re pregnant, get clearance before loading your spine like this.
Specifications
| Product type | Weighted rucking backpack (V2) |
|---|---|
| Intended use | Load-carry training, hiking, walking, general fitness |
| Back panel | Padded lower-back / lumbar support panel |
| Straps | Padded shoulder straps with adjustment and compression straps |
| Weight plates | Not included unless the variant states otherwise |
| Colour | Variant dependent |
| Capacity & dimensions | Variant dependent — see the variation you select |
| Suggested starting load | ~10% of bodyweight |
Care & Maintenance
Empty the pack fully before storing — leaving weight in it permanently compresses the foam in the back panel. Spot clean with mild soap and cool water; do not machine wash or tumble dry, which degrades the coatings and stitching. Air dry completely before storing to prevent mildew, and check the stitching around the shoulder-strap anchors and the load-bearing seams every few weeks, since those carry all the stress.
What’s in the Box
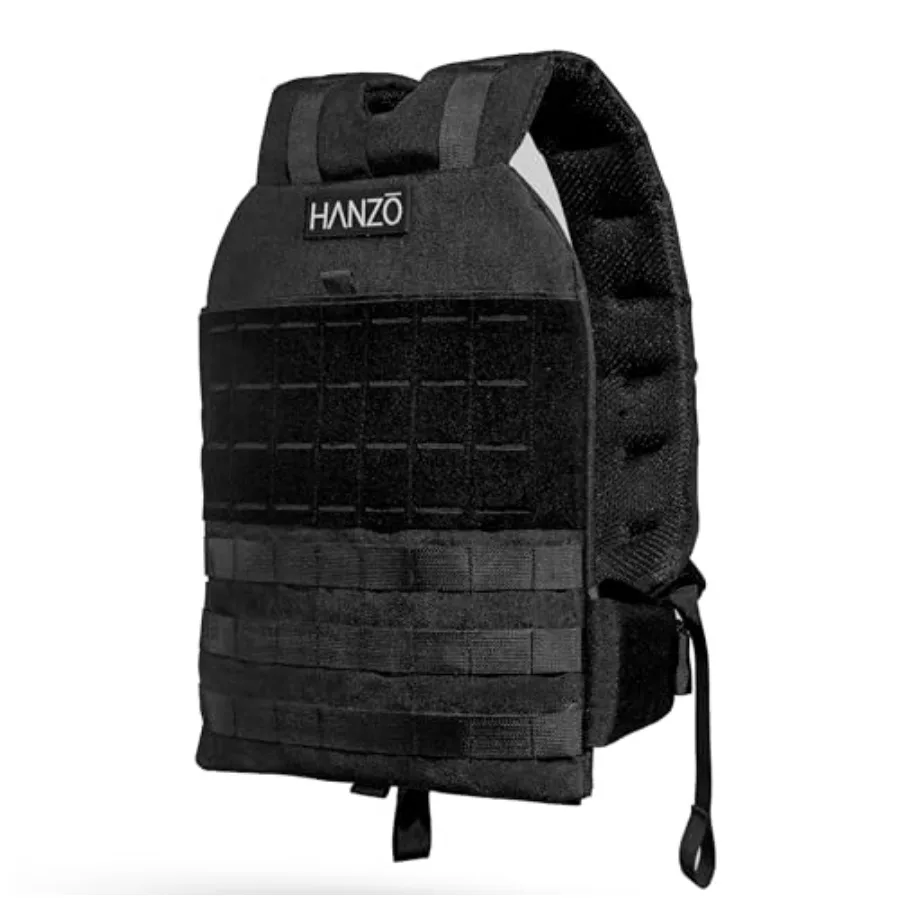
1 × Rucking Backpack V2 with padded lumbar back panel, adjustable shoulder straps and compression straps. Weight plates are not included unless your selected variant explicitly lists them.


Reviews
There are no reviews yet.