Heel Elevation Is a Loophole in Your Ankle, and You Should Use It
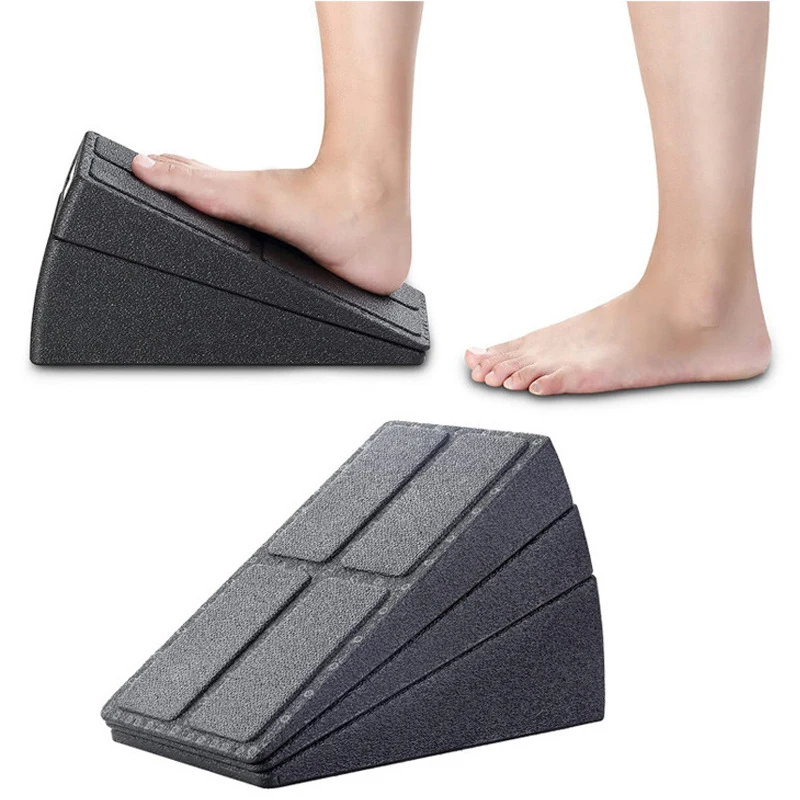
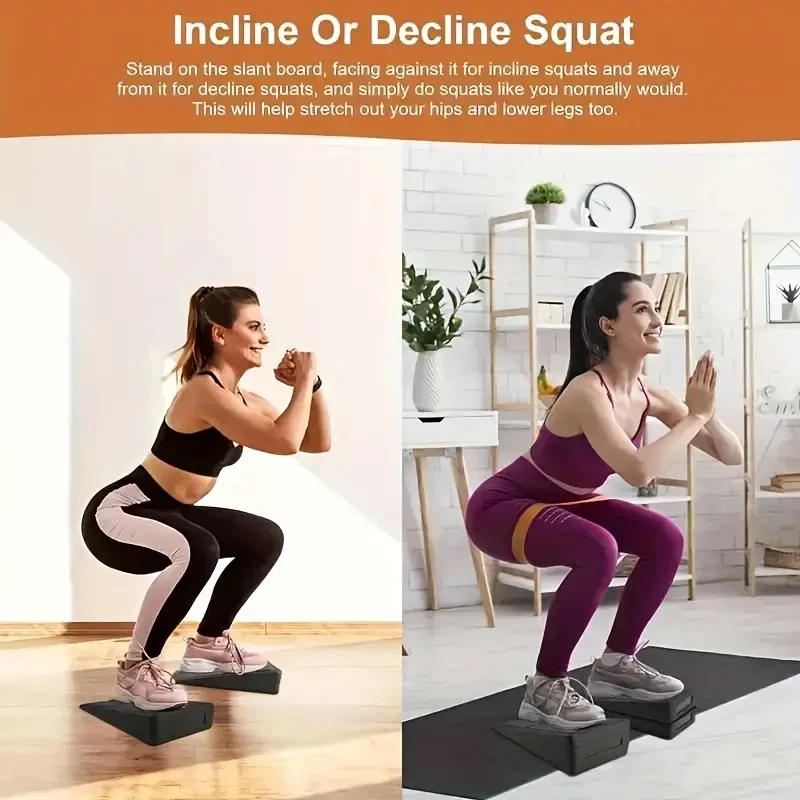
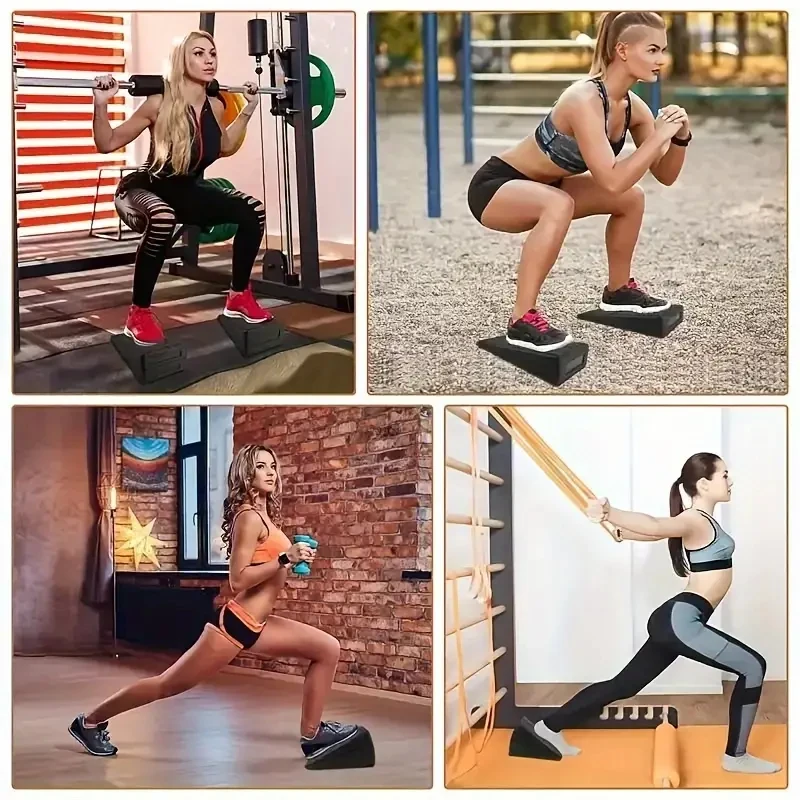
To reach the bottom of a deep squat, the shin has to travel forward over the foot — roughly 35–40 degrees of ankle dorsiflexion. Many people cannot get there, either because the calf and Achilles are short or because the talus is blocked in the ankle mortise. The body compensates by lifting the heels, rounding the lower back, or letting the knees cave. Elevating the heel on a wedge reduces the dorsiflexion the squat demands, so you can hit depth with an upright torso today. Used the other way round — toes up on the slope — the same wedge becomes a sustained calf and Achilles stretch that grows the range you were missing.
Key Benefits
- Immediate squat depth. Heel elevation lets you reach a full-depth squat with a vertical torso, which shifts load to the quads and takes the strain off a rounding lower back.
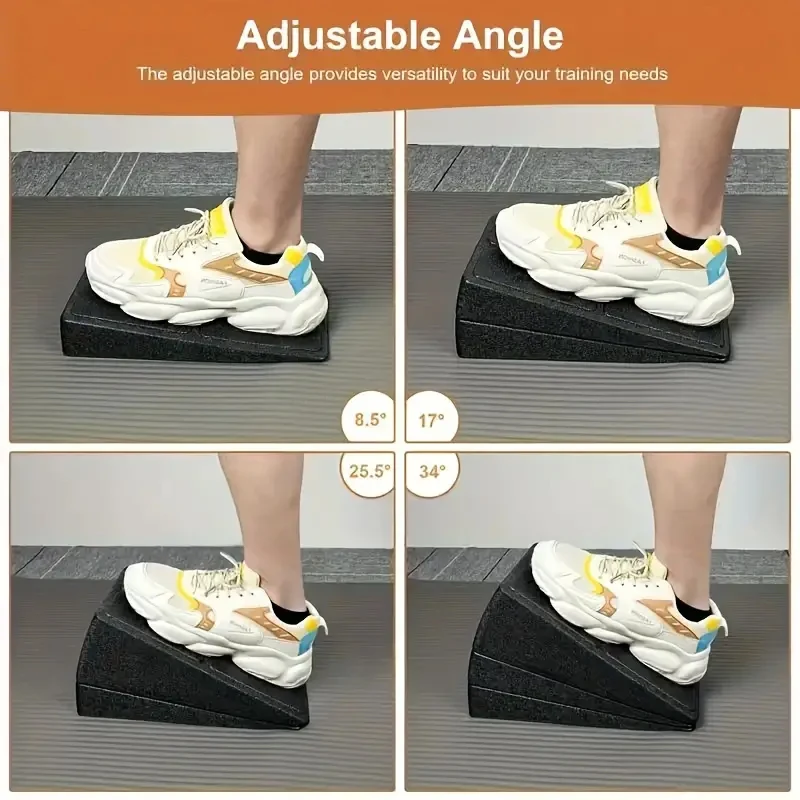
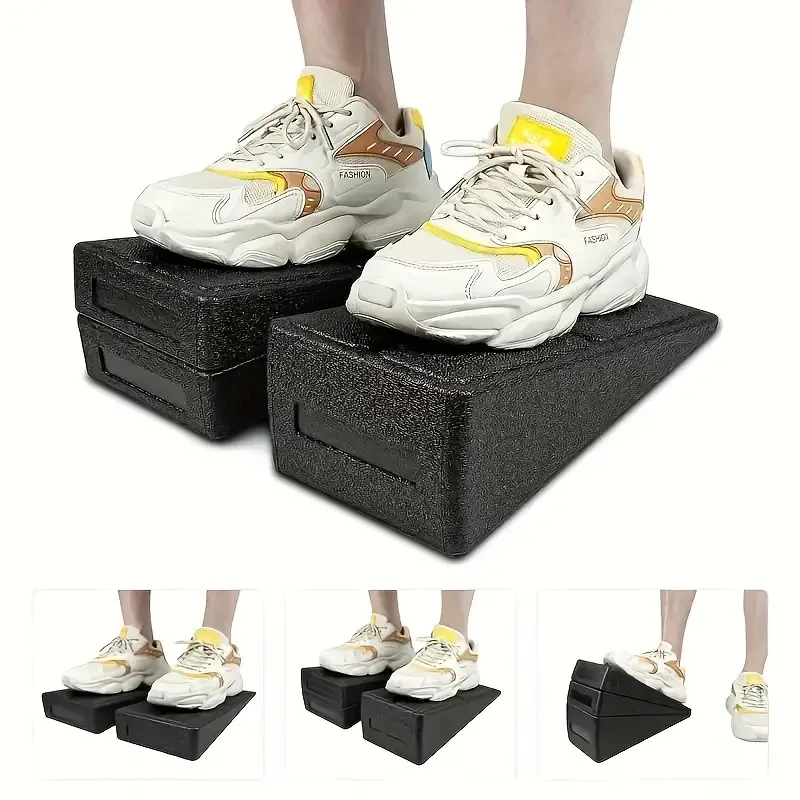
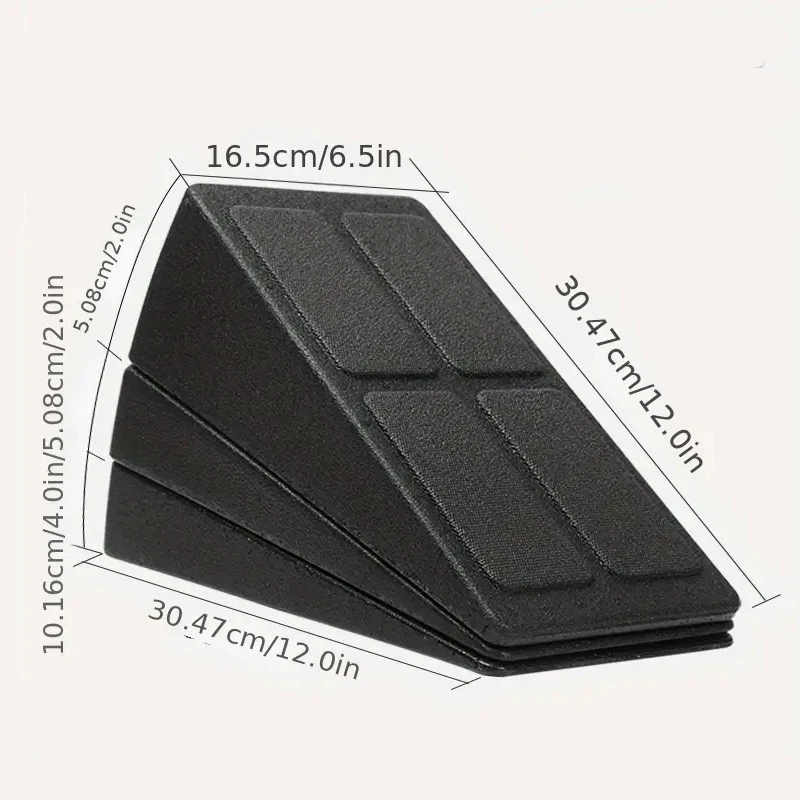
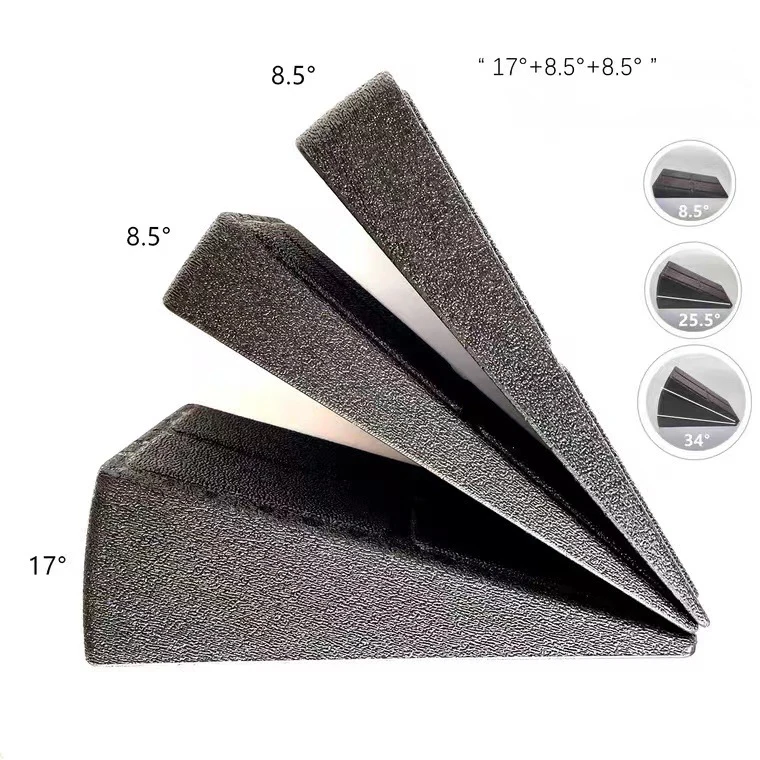
- Three wedges, adjustable angle. Stack or combine them to change the incline, so you can reduce the elevation gradually as your ankle range genuinely improves rather than depending on the wedge forever.
- Doubles as a calf and Achilles stretch. Stand toes-up on the slope for a sustained soleus and gastrocnemius stretch — this is the part that actually fixes the restriction.
- Loads the tendon, not just the muscle. Slow calf raises and eccentric heel drops off a slant board are the standard rehab approach for Achilles and plantar fascia problems.
- Non-slip contact surfaces. Textured top and grippy base — a wedge that slides out from under a loaded heel is a genuine hazard.
- Also works for hamstring and forward folds. Standing on the incline changes the angle of pull through the posterior chain in a seated or standing fold.
How to Use
For squats, place the wedges under your heels with the thick edge behind you, stand with feet at your usual width, and squat slowly — you should feel it in the quads with your chest staying up. Start with the smallest elevation that lets you hit depth cleanly, not the biggest. For a calf stretch, put the toes on the high edge with the heel down and hold 30–60 seconds, repeating a few times; for eccentric work, rise on both feet and lower slowly on one. Safety: set the wedges on a hard, flat, non-slip floor — on carpet or a plush mat they can tip. Have a wall or rack within reach the first few times, since heel elevation changes your balance point. Add load only once you are stable unloaded. Stop if you feel sharp pain in the Achilles rather than a stretch; and if you have had an Achilles rupture or surgery, get a physio to prescribe the progression instead of improvising.
Specifications
| Quantity | 3 wedges / slant blocks |
|---|---|
| Function | Heel elevation, calf and Achilles stretching, squat depth |
| Angle | Adjustable by stacking or combining wedges |
| Surface | Textured non-slip top, grip base |
| Material | High-density moulded foam / EVA (variant dependent) |
| Best for | Squat mobility, ankle dorsiflexion, calf and Achilles loading |
| Also suits | Hamstring stretching, yoga forward folds |
| Use on | Hard, flat, non-slip floor |
Care & Maintenance
Wipe clean with a damp cloth and mild soap; allow to dry fully before stacking, since trapped moisture between blocks encourages odour. Keep out of prolonged direct sun, which degrades foam. Inspect the grip surfaces regularly and stop using a wedge if the base has worn smooth or the block has developed a permanent dent — a compressed wedge no longer sits flat and that is when they slide.
What’s in the Box
3 x wedge / slant blocks. Non-slip surfaces; no tools or assembly required.
Reviews
There are no reviews yet.